

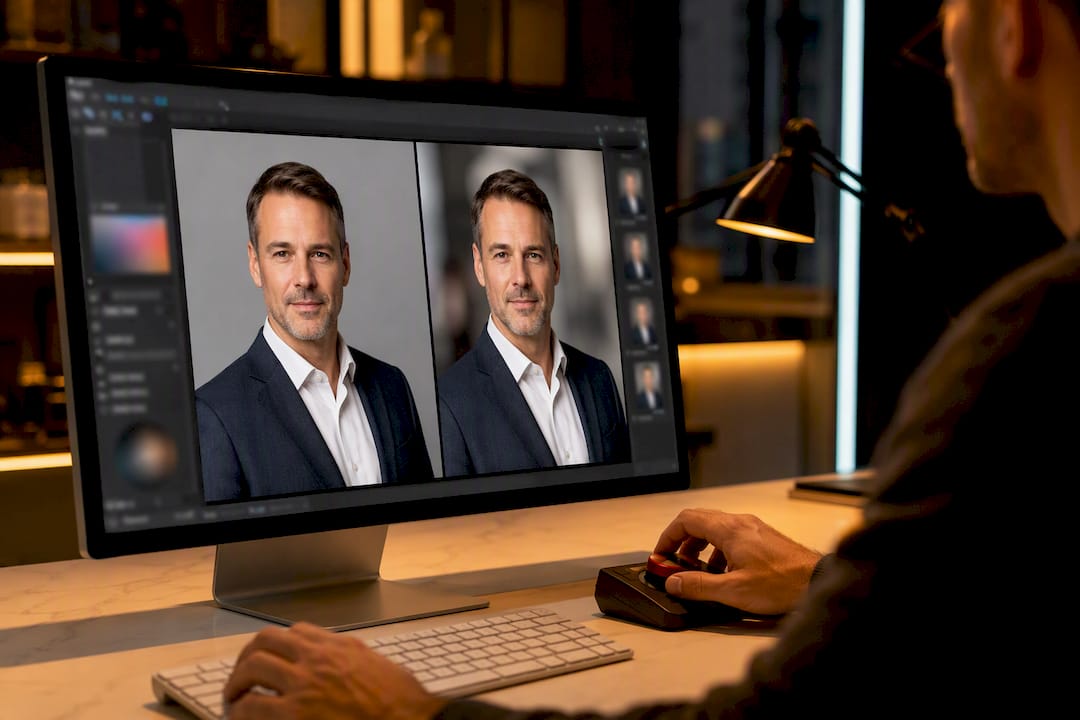
Yes, background replacement headshots hold up reliably for LinkedIn, team pages, and executive bios, provided the original photo is sharp, evenly lit, and shows clean separation between subject and backdrop. Light neutral gray is the safest default; navy, white, or a soft office blur work better for specific roles or platforms. When the face is soft or the resolution is weak, no amount of editing fixes it. Reshoot instead.
TL;DR:
- Background replacement headshots work well if the original photo is sharp, evenly lit, and shows clear separation from the backdrop, but fail if the face is soft or low-resolution.
- Neutral gray is the safest default for most professional use, while navy or dark tones are better suited for roles requiring a commanding presence, provided edges are crisp.
- For best results, prepare a well-lit, in-focus source image, carefully refine edges and shadows during editing, and always preview at the final display size before finalizing.
- Reshoots are necessary if the subject’s face is blurry, poorly lit, or the edges are tangled into the background, as editing cannot fix fundamental image quality issues.
- Consistency across team headshots is more important than perfect individual photos, so use shared backgrounds and plan during the shoot to minimize heavy post-editing later.
Table of Contents
- Choosing the Right Background for Business Headshots
- How to Replace a Headshot Background Step by Step
- When to Reshoot Instead of Editing the Background
- Common Background-Replacement Mistakes and How to Fix Them
- What We Do In-Session to Avoid Heavy Edits Later
- Why Background Choice Matters Beyond Looking Polished
- Get Background Editing Done Right the First Time
- Sources
- FAQ
Choosing the Right Background for Business Headshots
Background choice isn’t cosmetic. It signals role, industry, and how approachable you want to seem before anyone reads your bio. Photographers generally sort options into three families: environmental (the real room or office), artificial (seamless paper or fabric), post-production digital replacement, and many capture a neutral shot plus a role-specific alternate on the same session to avoid heavy edits later.
Here’s how the main options break down by use case:
- Light neutral gray: The default for a reason. It flatters most skin tones, crops cleanly into circular thumbnails, and reads consistently across LinkedIn, resumes, and internal directories.
- Soft office blur: Good when you want warmth without sacrificing polish, common for real estate agents, therapists, and consultants who want to feel human, not corporate. Keep it out of focus enough that no furniture or signage competes with the face.
- Clean white: Best for print directories, cutout-style team grids, or any layout where strict uniformity matters more than personality.
- Deep navy or charcoal: A strong choice for executives, attorneys, and finance professionals who want gravity. It demands crisp subject separation. Muddy edges against a dark tone are far more noticeable than against gray.
Before you finalize anything, shrink the image to the size it’ll actually appear at online. A background swap that looks flawless full-screen can fall apart as a 40 pixel avatar, and testing at thumbnail size catches problems most people never think to check. For teams, one shared background family across every headshot keeps the group looking cohesive rather than assembled from five different shoots. Our guide on choosing backdrops for business portraits walks through the full range if you’re weighing options for a full staff rollout.
How to Replace a Headshot Background Step by Step
Whether you’re using desktop software, a browser-based AI remover, or a phone app, the sequence stays the same. Skip a step and it shows.
- Prepare the source image. Start with a well-lit, in-focus shot with room above the head and below the shoulders. Cropping later is easy; recovering missing pixels is not.
- Remove the background. Desktop editors like Photoshop give the most control for tricky hair and jewelry. Browser-based AI removers handle simple cases in seconds. Mobile apps are fine for quick internal use but tend to struggle with fine detail.
- Place and match. Drop the cutout onto your chosen backdrop, then match color temperature and contrast so the subject doesn’t look pasted in. A library of pre-shot background plates gives more natural results than a random stock image.
- Refine edges and hair. This is where most amateur edits fall apart. Alternate automatic refine-edge tools with manual quick-mask painting at 100 to 200 percent zoom, using a soft, low-opacity brush to blend stray strands back in.
- Add contact shadows. A floating subject with no shadow anchoring them to the surface below reads as fake immediately. Paint a soft shadow aligned to the new background’s light direction.
- Export and check at scale. Save at full resolution, then preview the file at the actual size it’ll appear, whether that’s a LinkedIn thumbnail or a printed directory card. A swap done well often takes only a few minutes once you know the sequence.
For a fast single-image DIY pass, the shortened version is: shoot a well-lit selfie, run it through an AI background remover, place it on your neutral backdrop, crop to headshot proportions, and upscale if the file is small.
Pro Tip: Keep two saved backdrop files at all times, a neutral gray and a soft blur, and reuse them for every batch edit. Consistency across a team matters more than any single photo looking perfect.
When to Reshoot Instead of Editing the Background
Editing solves a background problem. It doesn’t solve a photo problem. If the face itself is soft, the resolution is too low to hold up at full size, the lighting is uneven across the subject, the shoulders are cropped awkwardly, or hair is tangled into the original backdrop in a way no mask will separate cleanly, reshoot. AI and manual background replacement both fail under those conditions, no matter which tool you use.
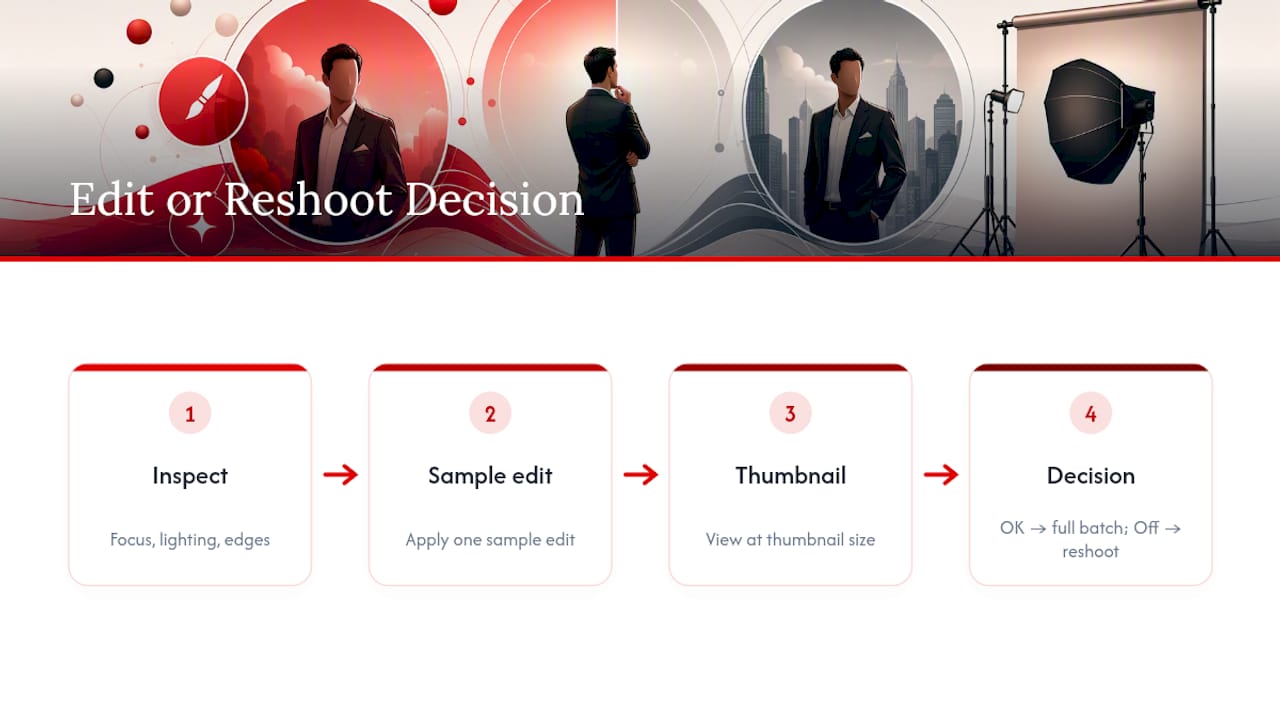
Edit when the background is genuinely the only issue: the subject is sharp, well-lit, and cleanly separated from what’s behind them. A fast way to decide: inspect focus, lighting, and edge separation first, try one sample edit, then view it at thumbnail size before committing to a full batch. If it still looks off, stop editing and book a reshoot instead.
Common Background-Replacement Mistakes and How to Fix Them
Most amateur-looking headshots trace back to the same handful of errors, each fixable if you know where to look.
- Hair halos and jagged edges. A stiff outline around the head, usually from a rushed automatic mask. Fix it with refine-edge tools followed by manual brushwork rather than relying on one-click removal.
- Lighting and color mismatches. Skin tone warmer than the backdrop, or shadows falling the wrong direction. Correcting this means adding a color-match layer and doing localized dodge and burn work on the subject to align tones.
- Missing contact shadows. The single fastest tell that a photo has been composited. A soft shadow matched to the background’s light vector fixes it in minutes.
- Thumbnail failure. A composite that looks convincing at full size but falls apart shrunk down. Always preview small and adjust contrast or saturation if the edges start to disappear.
Pro Tip: Zoom to 150 percent on the hairline before calling any edit finished. That’s where sloppy masking hides in plain sight until someone views the photo on a phone.
What We Do In-Session to Avoid Heavy Edits Later
Background choice starts as a branding decision, not an afterthought fixed in post-production. Background families can be aligned to roles such as gray for broad professional use, navy for executive presence, and blur for approachable client-facing work.
- A neutral default plus one role-specific look are often shot during the same session to avoid guessing which backdrop fits later.
- Clients receive multiple background variants and thumbnail previews to choose from before final delivery.
- Retouching and background work stay light because the lighting and framing were right the first time. Our guide to background choice covers how this plays into overall brand positioning.
Why Background Choice Matters Beyond Looking Polished
A clean, consistent background does more than make a photo look nice. It builds trust before a client reads a single word of your bio. AI-assisted edits are efficient and I’d never argue against using them, but the best results still come from pairing them with a photographer’s eye for lighting and framing rather than treating software as a full substitute. For teams planning a mass rollout, the smartest move is locking one background style before anyone starts editing, not after fifty photos are already inconsistent.
— Traci Schowmeyer
Get Background Editing Done Right the First Time
Editing your own background is fast, but it’s still a workaround for a photo that wasn’t lit or framed with that backdrop in mind from the start. Some professional photographers offer in-studio and on-location sessions, including mobile studio options for offices and team events, capturing headshots with the right background family from the start, followed by background editing, retouching, and fast delivery to avoid last-minute color-matching.

Real-time image review during the session helps teams leave with a consistent look, avoiding guesswork about which backdrop was chosen. If you’re weighing a DIY edit against booking a session, our ultimate professional headshot session guide walks through what’s included in a package and how to prep. If you manage bookings for a larger photography program, our partner’s photography SEO services are worth a look too. Ready to see what a properly lit session looks like before you touch a single edit? Check available packages and book your session today.
Sources
For deeper technical detail on the topics covered here, these sources are worth bookmarking: Adobe’s guide to leveling up headshots with backgrounds, KAHMA’s breakdown of common compositing mistakes, and Illumina Backdrops’ practical swap guidance.
- How to use backgrounds to level-up your headshots | Adobe Blog
- 7 Common Background Replacement Mistakes in Professional Headshots (And How to Avoid Them) | KAHMA
- Professional headshot backgrounds | Illumina Backdrops
FAQ
Can you replace a background on a photo?
Yes. Background replacement is reliable when the original subject is sharp, evenly lit, and cleanly separated from the backdrop; it becomes unreliable on blurry, poorly lit, or low-resolution source images.
What background is best for headshots?
Light neutral gray is the safest default for most business use because it flatters skin tones and crops well into thumbnails, while navy suits executive roles and soft office blur suits client-facing professionals who want more warmth.
Can ChatGPT change the background of a photo?
General AI chat tools aren’t built for precise photo editing, and image generation tools that create a new portrait from scratch work differently than editing an existing photo, since they can alter facial likeness rather than preserving it exactly.
How can I change the background of a headshot?
Remove the background with a desktop editor or AI-based tool, place the cutout on your chosen backdrop, match color temperature and contrast, refine the edges around hair, add a contact shadow, then check the result at thumbnail size before exporting.

