


Your headshot is your digital handshake. The most common headshot mistakes business owners make are: wearing the wrong outfit, skipping grooming details, performing instead of connecting, using harsh or flat lighting, choosing a distracting background, over-retouching, using outdated photos, relying on DIY selfies, hiring the wrong photographer, and rushing the selection process. Every one of these has a straightforward fix.
| Mistake | One-Line Fix |
|---|---|
| Wrong outfit (patterns, logos, poor fit) | Wear tailored, matte, solid midtones like navy or charcoal |
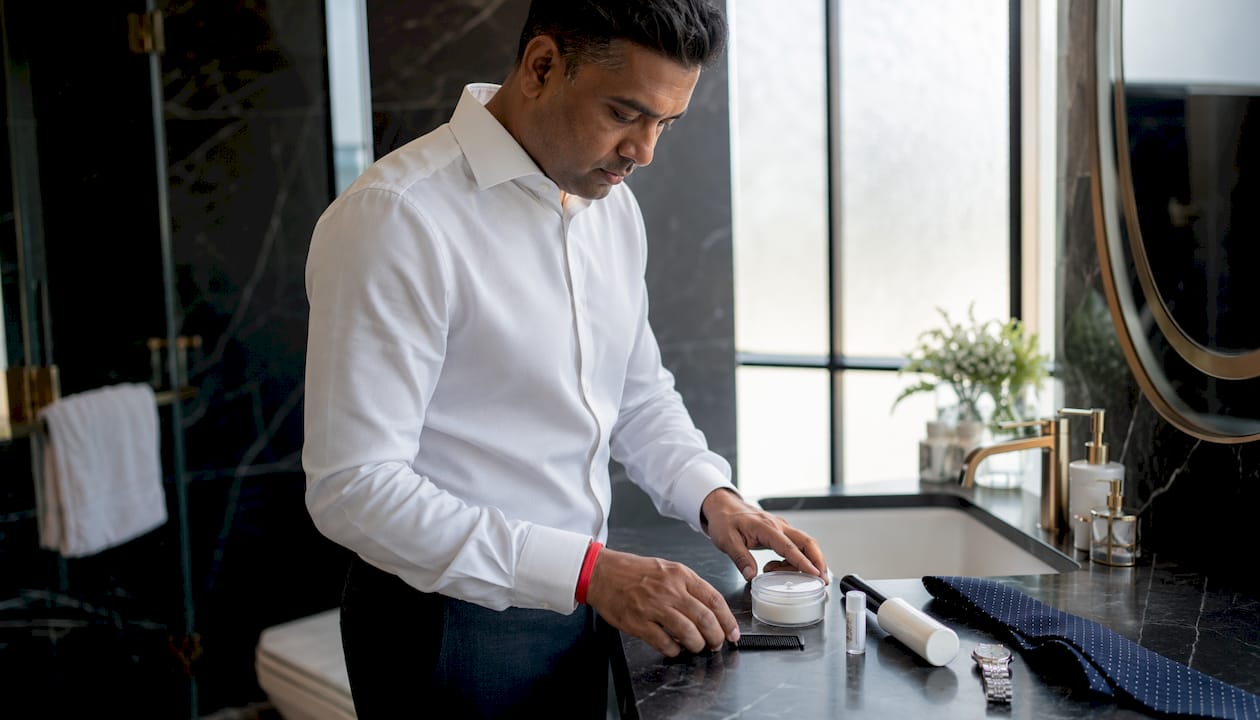
| Skipping grooming details | Bring a small kit: powder, comb, lint roller |
| Performing instead of connecting | Talk naturally with your photographer before the first shot |
| Harsh or flat lighting | Request soft, diffused studio lighting |
| Distracting background | Use a neutral, brand-aligned backdrop |
| Over-retouching | Ask for blemish removal only, no skin smoothing or reshaping |
| Outdated photos | Refresh regularly or after a major brand or style change |
| DIY selfies | Use a tripod, window light, and your phone’s highest resolution |
| Wrong photographer | Hire a headshot specialist, not a generalist |
| Rushing selection | Review images in-session and plan deliverable formats in advance |
Table of Contents
- 1. What you wear on camera matters more than you think
- 2. Small grooming details that quietly damage credibility
- 3. Why “just look natural” is the worst posing advice
- 4. Lighting and technical problems that age you on camera
- 5. Background and composition mistakes that pull focus from you
- 6. Over-retouching mistakes that make you look untrustworthy
- 7. Outdated photos are quietly hurting your brand
- 8. Why DIY headshots usually fall short (and when they don’t)
- 9. Hiring the wrong photographer is the most expensive mistake
- 10. Session planning and what to expect on cost and timeline
- How Metroplex Headshots approaches sessions and retouching
- Key Takeaways
- The mistake no checklist fully fixes
- Metroplex Headshots: professional headshots built for business owners
- Useful sources and further reading
1. What you wear on camera matters more than you think
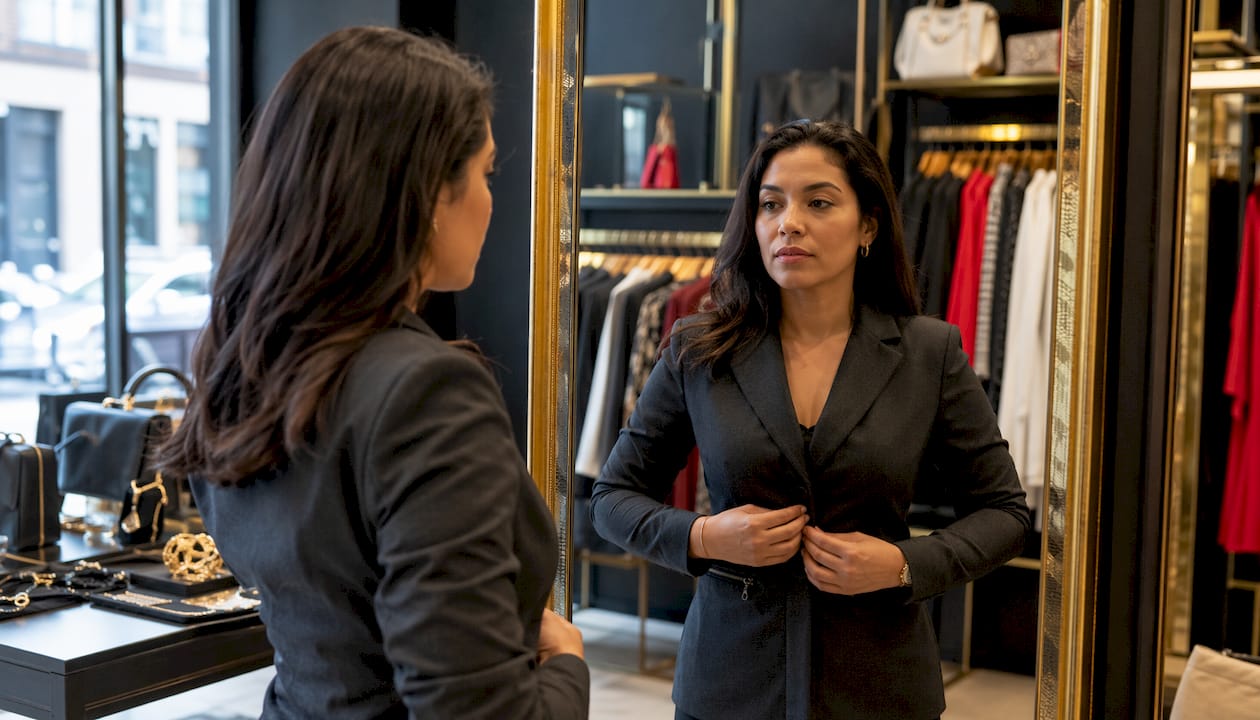
Clothing is the first thing a viewer registers after your face, and the wrong choice can undermine executive presence before you say a word. Matte, solid fabrics in midtone colors — navy, charcoal, forest green, burgundy — photograph cleanly and keep the viewer’s eye on you. Bright white can blow out near your face under studio lights unless you layer it under a jacket. Neon reads as unprofessional, and fine patterns like thin stripes or houndstooth create a moiré shimmer on camera that is genuinely distracting.
Fit matters as much as color. A jacket that pulls at the shoulders or a collar that gaps signals carelessness, not authority. Logos and branded apparel shift attention away from your face and toward a product, which is rarely the message you want.
Pro Tip: Lay out two or three outfit options the night before and photograph each one with your phone in natural light. What looks sharp in your closet mirror can read completely differently on a screen.
| Do | Don’t |
|---|---|
| Tailored, matte solid colors | Fine stripes, houndstooth, or busy prints |
| Navy, charcoal, forest green, burgundy | Bright white or neon without layering |
| Fitted jacket or blazer | Baggy, wrinkled, or ill-fitting garments |
| Simple, minimal jewelry | Large logos or branded apparel |
2. Small grooming details that quietly damage credibility
A stray hair, a shiny forehead, or uneven facial hair reads as low attention to detail in a still image. These are tiny things in real life, but a camera at close range amplifies every one of them. A quick trim three to five days before the shoot keeps hair looking intentional without the “just cut” look. Facial hair should be shaped the day before, not the morning of, so any redness settles.
Skin shine is one of the most common professional headshot errors, and it is also one of the easiest to fix. A translucent matte powder takes thirty seconds to apply and makes a visible difference under studio lights. Flyaways and stray hairs are nearly impossible to remove cleanly in post-production without affecting surrounding texture, so managing them before the shoot saves retouching time and preserves a natural look.
Pre-shoot grooming checklist:
- Hair trim or shape three to five days before the session
- Tidy facial hair the day before (not the morning of)
- Apply translucent matte powder to reduce shine
- Smooth flyaways with a light-hold product or a fine-tooth comb
- Check teeth for coffee stains or lipstick
- Confirm glasses are clean and anti-glare coated if worn
Pro Tip: Pack a small kit for the day of the shoot: translucent powder, a fine-tooth comb, a lint roller, and a clear lip balm. Most photographers appreciate clients who arrive prepared.
3. Why “just look natural” is the worst posing advice
The biggest posing mistake is treating the session like a performance. When you try to “look professional,” your face tightens, your shoulders rise, and the result is the stiff, robotic image that fills most company team pages. Relaxed, conversational states produce better, more authentic images than any rehearsed pose.
Small physical adjustments make a real difference. Angling the torso 30–45 degrees rather than squaring it to the camera creates approachability. A slight lean toward the lens signals engagement. Chin placement — slightly forward and down — reduces the appearance of a double chin and conveys confidence. A micro-smile, where the corners of the mouth lift just slightly, reads as warm without looking forced.
- Torso angled 30–45 degrees: approachable, not confrontational
- Slight forward lean: engaged, present, interested
- Chin forward and slightly down: confident, no double-chin effect
- Micro-smile with relaxed eyes: warm and trustworthy
- Shoulders rolled back and down: calm authority
Pro Tip: Before the first shot, spend two minutes talking with your photographer about a recent client win or a project you’re proud of. That shift in mental state shows up immediately in your expression.
4. Lighting and technical problems that age you on camera
Lighting is the single most powerful technical variable in a headshot, and it is also the most commonly mishandled. Harsh overhead light creates deep shadows under the eyes — the “raccoon eyes” effect — and exaggerates lines. Direct midday sun blows out highlights and flattens facial structure. Office fluorescents introduce a green or yellow color cast that no amount of post-processing fully corrects.
Soft, diffused light placed at roughly a 45-degree angle to the subject’s face is the standard for professional headshots because it sculpts without harshening. A single well-positioned softbox or a large window with a diffusion panel does more for a portrait than any camera upgrade.
Resolution and file format are the other technical pitfalls. A low-resolution image looks fine as a thumbnail but falls apart on a website hero image or a printed conference program. LinkedIn recommends a minimum of 400 x 400 pixels for profile photos, but a professional session should deliver files at 3000 pixels on the short side or larger so you have flexibility for every use case. Motion blur from a handheld shot in low light is another common issue — a tripod or burst mode eliminates it.
5. Background and composition mistakes that pull focus from you
A busy background competes with your face for the viewer’s attention, and that competition always hurts the subject. Brick walls with strong texture, windows with bright outdoor scenes, and cluttered office shelves all create visual noise that reduces the perceived quality of the image. Poor lighting and inconsistent backgrounds are among the most frequent causes of unprofessional-looking headshots.
Color clashes are equally damaging. A red background against a red blazer creates a floating-head effect. A background that is too similar in tone to your skin or hair reduces subject separation and makes the image look flat.
Composition checklist:
- Keep at least two feet between the subject and the background to allow depth of field separation
- Crop at the chest or just below the shoulders — not at the neck or mid-torso
- Center the eyes in the upper third of the frame for LinkedIn and website profile crops
- Avoid props, plants, or decor that appear near the head
- Match background tone to brand positioning: neutral gray or white for corporate, subtle texture for creative, contextual (office, outdoors) for approachable brands
| Background type | Best for | Avoid when |
|---|---|---|
| Neutral gray or white | Corporate, legal, medical | Creative or personal brands |
| Subtle texture (linen, concrete) | Consultants, coaches | Busy or high-contrast textures |
| Contextual (office, outdoors) | Approachable, lifestyle brands | Cluttered or distracting environments |
6. Over-retouching mistakes that make you look untrustworthy
Over-retouching is one of the most damaging business headshot blunders because it erodes the one thing a headshot is supposed to build: trust. When a photo looks noticeably different from the person who walks into a meeting, the disconnect registers immediately. Retouching should remove temporary distractions but preserve natural texture and facial structure.
The most common over-retouch problems are plastic-looking skin from excessive smoothing, overbrightened eyes that look digitally altered, and altered facial proportions from liquify tools. These edits might look polished in isolation, but they reduce the authenticity that makes a headshot work as a business tool.
Acceptable retouching:
- Targeted blemish and temporary skin imperfection removal
- Color correction and white balance adjustment
- Minimal, natural-looking skin tone evening
- Subtle eye brightening (whites only, not iris color)
- Clothing wrinkle reduction
Avoid:
- Heavy skin smoothing that removes natural texture
- Reshaping facial features with liquify or warp tools
- Removing permanent features (scars, moles) without client request
- Overbrightening eyes beyond natural appearance
- Heavy background blurring that looks artificial
7. Outdated photos are quietly hurting your brand
A headshot that is more than two years old may no longer represent who you are or what your business stands for, and it may not reflect the business or individual’s current brand. The “Who is this?” moment — when a client meets you in person and clearly expected someone different — is a credibility gap that is entirely avoidable.
Beyond the two-year guideline, specific triggers should prompt an immediate refresh: a rebrand or new service launch, a significant style change (new glasses, different hair color, weight change), a role change or promotion, or a shift in your brand positioning from one persona to another. A photo from your startup days projects a different message than the established authority you are now.
Pro Tip: Match your headshot tone to your current business positioning. A trusted advisor persona calls for a composed, direct expression and a neutral background. An innovator or creative brand can carry a warmer expression and a more contextual setting. Brand alignment between your photo and your positioning is the secret sauce of professional branding.
Team headshots add another layer: when team pages show photos taken years apart, the visual inconsistency signals disorganization. A coordinated team session periodically keeps the company page looking cohesive.
8. Why DIY headshots usually fall short (and when they don’t)
Most DIY headshots fail for the same cluster of reasons: poor composition, inconsistent lighting, low resolution, and a casual context that conflicts with the brand. A selfie taken at arm’s length introduces lens distortion that exaggerates facial features. A photo cropped from a group shot at a conference has compression artifacts and an obvious crop line.
Common DIY failures:
- Arm’s-length selfies with wide-angle lens distortion
- Low-resolution phone photos compressed by social media uploads
- Casual backgrounds (home offices, restaurants, outdoor events) that undercut professional credibility
- Inconsistent lighting from mixed sources (window plus overhead)
- Unflattering crop angles from below or at eye level without a tripod
When DIY is acceptable: a temporary placeholder while you schedule a professional session, or a remote worker in a role with no direct client contact.
Minimum DIY checklist if you must:
- Use a tripod and a self-timer or remote shutter
- Position near a large window with diffused natural light (overcast day is ideal)
- Choose a plain, neutral wall as your background
- Shoot at the highest resolution your phone allows, portrait mode off
- Crop to a square or 4:5 ratio with eyes in the upper third
For any client-facing role, leadership position, or public-facing brand, a professional session is not optional. The gap in quality is visible immediately.
9. Hiring the wrong photographer is the most expensive mistake
Choosing a photographer based on price alone, or hiring a generalist who primarily shoots weddings or events, is one of the most consequential professional headshot errors a business owner can make. A headshot specialist understands brand alignment, executive presence, and the specific crops and file formats different platforms require. A generalist may produce beautiful images that simply do not work as business tools.
Questions to ask before booking:
- Do you specialize in business or corporate headshots?
- What is your turnaround time for edited images?
- What does your retouching scope include, and what costs extra?
- What file sizes and formats do you deliver?
- Can you accommodate a team session on-location or with a mobile studio?
- Do you offer real-time image review during the session?
| Photographer type | Strengths | Limitations for business owners |
|---|---|---|
| Headshot specialist | Brand-aligned direction, correct crops, business-ready files | Higher session fee |
| General portrait photographer | Strong technical skills, creative range | May lack business context or platform knowledge |
| DIY / phone approach | Zero cost, immediate | Rarely professional enough for client-facing use |
Pro Tip: Ask to see a full gallery from a recent corporate session, not just the photographer’s best three portfolio shots. Consistency across a team session tells you far more than a single hero image.
Rushing selection after the session is a separate but related mistake. Companies that do not plan team headshots often end up with patchwork styles that look disorganized on team pages. Build image review time into the session itself.
10. Session planning and what to expect on cost and timeline
Treating a headshot session like a product launch, as strategic planning suggests, means arriving with a clear brief: which platforms need images, what expressions and tones serve your brand, and how many final images you need. Showing up without that clarity wastes session time and produces generic results.
Session-ready checklist:
- Bring two to three outfit options (not just one)
- Pack your grooming kit
- Save two to three reference images showing the tone and expression you want
- Know which platforms need images: LinkedIn (square, 400 x 400 minimum), website hero (landscape or portrait, high resolution), media kit (high-resolution TIFF or PNG)
- Confirm deliverable formats with your photographer in advance
The image selection process is where most business owners lose time. Request a real-time review during the session so you can flag favorites before you leave — waiting until you receive a full gallery to start selecting adds days to the process and often results in second-guessing.
On cost: session fees for professional business headshots in the Dallas–Fort Worth area vary based on session length, number of final retouched images, on-location vs. studio setup, and expedited delivery. On-location or mobile studio sessions typically carry a higher fee than in-studio work. Expedited delivery (same-day or next-day) usually adds to the base price. For a full breakdown of what affects business portrait investment, the variables are session scope, deliverable count, and licensing terms.
How Metroplex Headshots approaches sessions and retouching
The Metroplex Headshots workflow is built around one principle: your headshot should reflect who you are, what your business environment is, and the emotion you want to convey to clients. Every session begins with a pre-session consultation to align imagery with your brand positioning before a single frame is captured.
During the session, clients review images in real time. That means you leave knowing which shots work, rather than waiting days to discover the lighting was off on your favorite pose. The retouching pass follows a clear policy: targeted blemish removal, color correction, natural skin tone balancing, and minimal texture smoothing. No reshaping. No plastic skin. No edits that make you unrecognizable.
Standard deliverables include:
- Final retouched images in high-resolution JPEG and PNG
- Cropped variants sized for LinkedIn, website, and media use
- Background editing options (neutral swap or subtle texture)
- Optional additional retouch passes for specific requests
For deeper guidance on what good headshot retouching looks like in practice, Metroplex Headshots publishes a full breakdown of acceptable versus over-edited results.
Key Takeaways
Avoiding the most common headshot mistakes business owners make comes down to three things: preparation before the session, authentic expression during it, and tasteful retouching after.
| Point | Details |
|---|---|
| Wardrobe and grooming first | Wear tailored, matte solids and bring a grooming kit; small details read large on camera. |
| Authenticity over performance | Relaxed, conversational posing produces more trustworthy images than rehearsed expressions. |
| Update every two years | Refresh your headshot if it is more than two years old, or after a rebrand, new service launch, significant style change, or role shift to ensure it accurately represents your current business and brand. |
| Hire a specialist | A headshot specialist delivers brand-aligned direction, correct crops, and business-ready files. |
| Metroplex Headshots | Offers pre-session consultation, real-time image review, and a clear retouching policy for Dallas–Fort Worth business owners. |
The mistake no checklist fully fixes
Most articles about headshot preparation focus on the visible variables: wardrobe, lighting, background. Those matter. But the mistake I see most consistently has nothing to do with any of them. It is the mental state a subject brings into the room.
Business owners are used to being “on.” They walk into a session ready to perform the version of themselves they think the camera wants. The result is a photo that looks polished but feels hollow. There is a version of you that your best clients already know — the one who is confident, present, and genuinely engaged. That version does not show up when you are performing. It shows up when you forget the camera is there.
The practical fix is simple: arrive a few minutes early, have a real conversation with your photographer before the first shot, and think about a client interaction that went well. That mental shift produces expressions that no posing guide can manufacture. Authentic photos build trust in a way that technically perfect but emotionally flat images never will. Your headshot is often the first impression a prospective client gets of you. Make it the one that actually represents who you are.
Metroplex Headshots: professional headshots built for business owners
A polished headshot is not a luxury — it is the first thing a prospective client sees before they decide whether to read further, click your link, or book a call. Metroplex Headshots serves business owners, executives, corporate teams, lawyers, medical professionals, and real estate professionals across the Dallas–Fort Worth Metroplex with in-studio and on-location sessions, including a mobile studio that comes to your office or event.
What sets the experience apart is the combination of pre-session consultation, real-time image review, and a retouching policy that keeps your images authentic. Fast delivery means you are not waiting weeks to update your LinkedIn or website. For teams, consistent styling across a single session eliminates the patchwork look that undermines company pages. Whether you need a single executive portrait or a corporate headshot program for your entire team, the process is designed to produce images that do real business work.
Ready to replace an outdated photo or prepare your team for a brand refresh? Book your session with Metroplex Headshots and arrive with the checklist from this article in hand.
Useful sources and further reading
- 7 Mistakes You’re Making with Professional Corporate Headshots — Shut Your Aperture: covers lighting, posing, and background pitfalls with practical fixes.
- The Biggest Corporate Headshot Mistakes Have Nothing to Do With the Camera — Jonny Donovan: the psychological case for relaxed, conversational sessions over rehearsed poses.
- Common Corporate Headshot Mistakes and How Businesses Can Avoid Them — Only Professional: session planning, retouching policy, and team consistency guidance.
- Why Every Business Owner Needs Updated Headshots — Angela Pierson Photography: update cadence and brand-alignment triggers.
- 3 Common Mistakes Businesses Make with Their Headshots — AweVideo: wardrobe and fabric guidance for camera-ready clothing.
- Headshot Retouching for Business — Metroplex Headshots: a full breakdown of acceptable retouching practices for professional portraits.
- Business Portrait Investment Explained — Metroplex Headshots: pricing variables and ROI context for business owners evaluating a session.

