

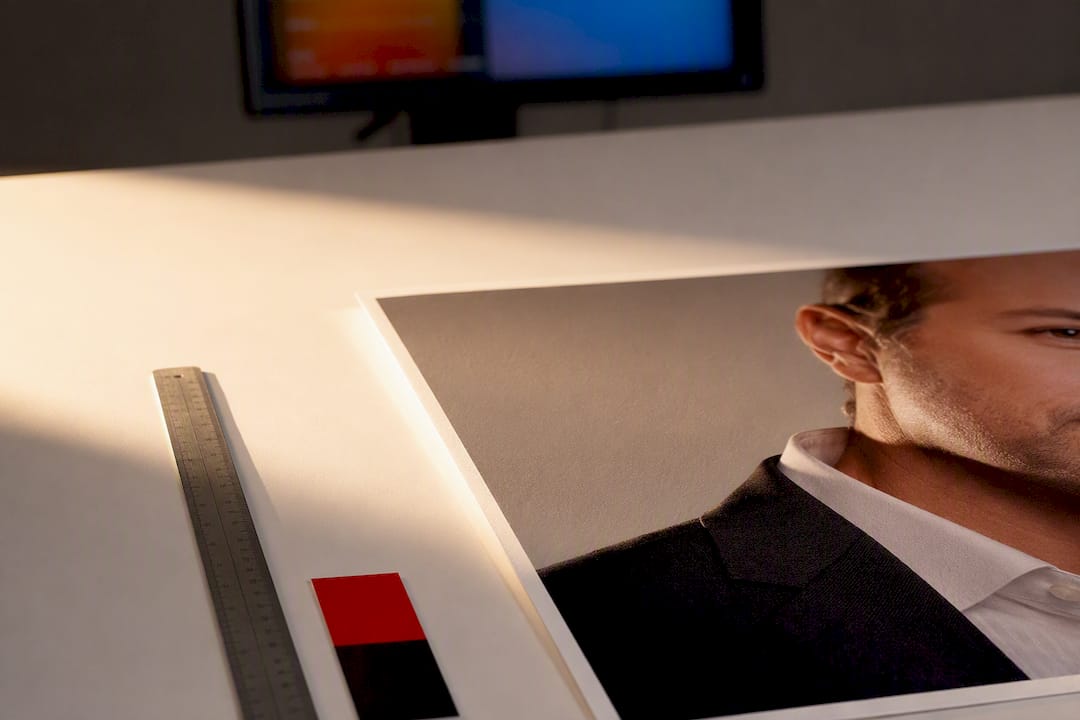
Keep a full-resolution master file at 2400×3000 pixels or larger, then export platform-specific copies from it: 800 to 1,200 pixel squares for LinkedIn and web profiles, and the full master at 300 PPI for an 8×10 print. Pixel count controls how sharp an image looks on a screen; PPI controls how large it can print without looking soft.
TL;DR:
- A high-resolution master file of at least 2,400 by 3,000 pixels at 300 PPI ensures quality for both print and digital use.
- Upload sizes are usually limited between 5 MB and 10 MB, making pixel dimensions more critical than file size for online quality.
- Center faces and leave margin near the edges to accommodate platform cropping, especially for circular or square crops.
- Export images in JPEG format with 80 to 90% quality to balance sharpness and file size for web platforms and social media.
- Always request the original master file, format-specific exports, and confirm color space preferences to prevent future rework or resolution issues.
Table of Contents
- Headshot Resolution Requirements: A Platform and Print Cheat Sheet
- Why Pixel Count Drives Quality Online
- How PPI and Pixel Math Determine Print Size
- Cropping Without Cutting Off What Matters
- Getting Export Settings Right the First Time
- Why Headshots Get Rejected and How to Fix Them Fast
- Metroplex Headshots: A Photographer’s Checklist for Preserving Resolution
- Why a High-Res Master Is a Professional’s Best Long-Term Asset
- Get Session-Ready Files Without the Back-and-Forth
- Sources
- FAQ
Headshot Resolution Requirements: A Platform and Print Cheat Sheet
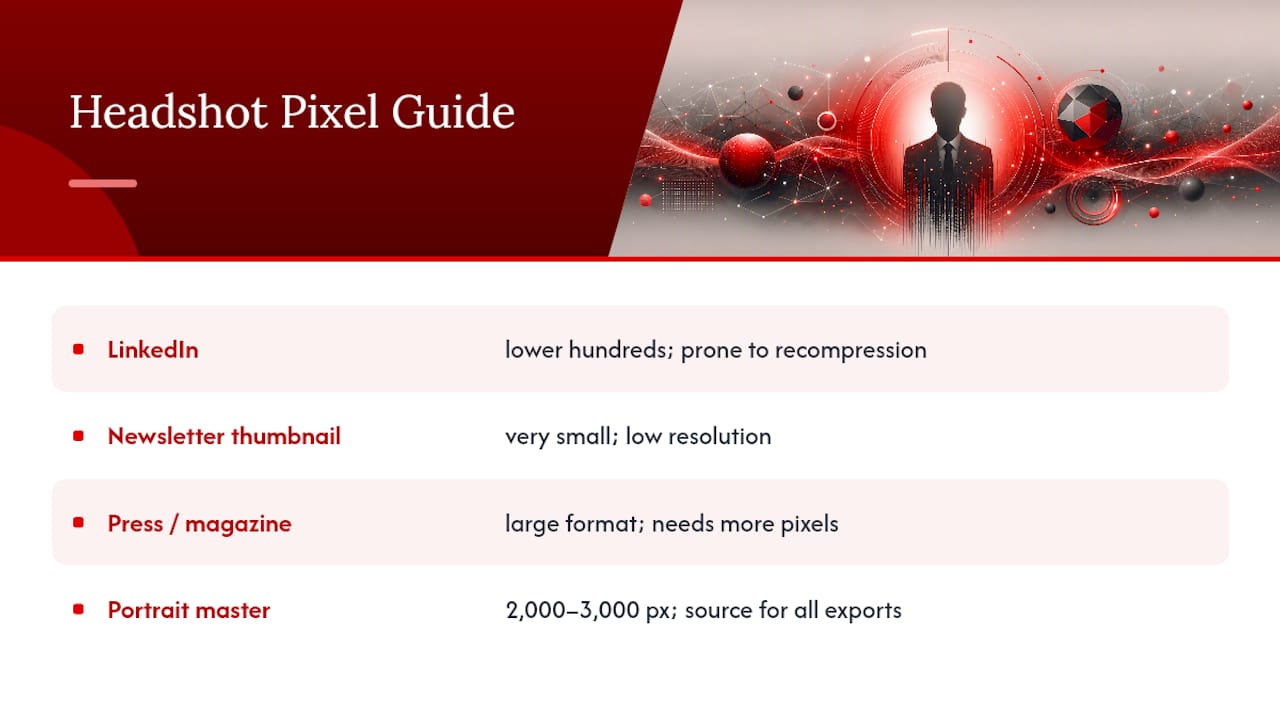
Every destination for your headshot wants something slightly different, and guessing gets expensive when a print job comes back blurry or a LinkedIn upload looks pixelated. Here’s the reference professionals actually need before they hit export.
LinkedIn technically accepts a minimum pixel dimension at the lower hundreds, but uploading that small invites compression artifacts the moment the platform recompresses your file. Press outlets often request even larger files than a standard headshot delivery, since a photo destined for a magazine cover or large-format banner needs more pixel real estate than one going into a newsletter thumbnail. This is exactly why the master file matters more than any single export: a properly captured 2,000 to 3,000 pixel portrait master can supply every row in that table without a reshoot.
Why Pixel Count Drives Quality Online
Screens read pixels, not inches, so pixel dimensions are the number that actually determines whether your headshot looks crisp on a monitor or phone. PPI is a print concept. A 400×400 pixel image and an 800×800 pixel image can both claim “72 PPI,” but only the larger one will hold up when someone views it at full size on a high-resolution laptop display.
A few platform quirks make this more than academic:
- Circular crops on LinkedIn, Slack, and Zoom clip the edges of a square image, so center your face and leave margin near the corners rather than filling the frame edge to edge.
- Retina and other high-density displays render sharper images when you export at roughly double the pixel size the display box calls for, so a 400 pixel avatar slot looks best fed an 800 pixel file.
- JPEG at 80 to 90% quality is the standard format for web and social exports. It balances small file size against visible sharpness.
- PNG is worth using only when a background needs transparency. It is otherwise a heavier file for no visual gain on a headshot.
Most platforms cap upload size somewhere between 5 MB and 10 MB, and a properly compressed JPEG at typical headshot dimensions rarely comes close to that ceiling, so file size is almost never the limiting factor for digital use. Pixel dimensions are.
Pro Tip: Before uploading anywhere, check your file’s actual pixel dimensions, not just its file size in megabytes. A photo can be 8 MB and still be too small for a good print, or 400 KB and plenty sharp for a web profile.
How PPI and Pixel Math Determine Print Size
The math behind print resolution is simple division: pixel dimensions divided by target PPI gives you the maximum print size. A 2,400×3,000 pixel file divided by 300 PPI yields an 8×10 inch print, which is why that pixel count has become the standard convention for acting headshots and comp cards.
Three hundred PPI is the benchmark for prints viewed at arm’s length, roughly one to two feet away, where the eye can detect fine detail. That standard loosens as viewing distance increases:
- A framed 8×10 desk photo or an acting headshot handed to a casting director typically aims for about 300 PPI.
- A large lobby print or conference banner viewed from several feet away: 180 to 240 PPI often looks just as sharp, since the eye simply can’t resolve the extra detail from that distance.
- A trade show backdrop or building signage viewed from across a room: even lower PPI can pass, because scale and distance do the heavy lifting.
Understanding DPI versus PPI clears up a persistent point of confusion. DPI, or dots per inch, describes a physical property of a printer, how many ink dots it lays down per inch. PPI, pixels per inch, describes a property of your digital file. A print lab that asks for “300 DPI” almost always means 300 PPI in your exported file. Editing software like Photoshop lets you change an image’s resolution setting without resampling, which alters the calculated print size while leaving pixel dimensions untouched. That’s a useful trick for relabeling a file for a print order, but it doesn’t add real detail. Only more captured pixels do that.
Cropping Without Cutting Off What Matters
Aspect ratio decisions come down to where the image will live. A 1:1 square works for profile photos and grid layouts. A 4:5 portrait ratio suits printed headshots, speaker bios, and the traditional 8×10 acting print. A 5:4 landscape crop shows up occasionally in press layouts and website hero banners where horizontal space is available.
Cropping from a wider master rather than shooting tight in-camera gives you room to satisfy all three ratios without losing the parts of the image that matter most. A few safe-area habits protect you from awkward crops later:
- Leave headroom above the crown of the head. A crop that’s too tight looks cramped in a circular mask.
- Keep both shoulders visible in the original capture, even if the final export crops closer, so a 4:5 portrait and a 1:1 square can both be pulled from the same frame.
- Avoid centering the eyes exactly at the vertical midpoint. Slightly above center tends to survive different crop ratios better.
- Never crop first and resize second. Always resize down from the full master so you’re not discarding pixels you might need for a different destination.
Building locked-aspect-ratio exports directly from an untouched master, rather than editing a single flattened copy repeatedly, keeps every downstream file at full quality. It also means you’re never one bad crop away from needing an entirely new photo session.
Getting Export Settings Right the First Time
The technical settings behind a file, not just its pixel dimensions, decide whether it holds up under real-world use. Get these four steps right and you’ll avoid nearly every quality complaint that comes back from a client, employer, or print shop.
- Choose the right format for the destination. JPEG in the sRGB color space covers virtually all web and social use. TIFF or a high-quality, minimally compressed JPEG is the right call when a print shop or designer requests a print-ready file.
- Match the color space to the output. sRGB is the universal standard for screens and is what every browser and app expects. Adobe RGB or ProPhoto RGB capture a wider color range and are worth providing only when a print professional specifically asks for them.
- Compress deliberately, not by default. An 80 to 90% quality JPEG setting is generally invisible to the eye while keeping file size reasonable; dropping below that range is where banding and artifacts start to show, especially in skin tones.
- Resize without resampling when you just need a new print size from the same file, and resize with resampling (true pixel reduction) when you’re producing a smaller web export. Reach for an upscaling tool only when no larger master exists, and treat the result as a stopgap rather than true added detail.
Pro Tip: Ask your photographer or design partner, such as the workflow experts at PRYDE Designs, exactly which color space and format a print vendor expects before you submit a file. It saves a reprint.
Why Headshots Get Rejected and How to Fix Them Fast
Most upload rejections trace back to one of four fixable problems, and none of them require a new photo session.
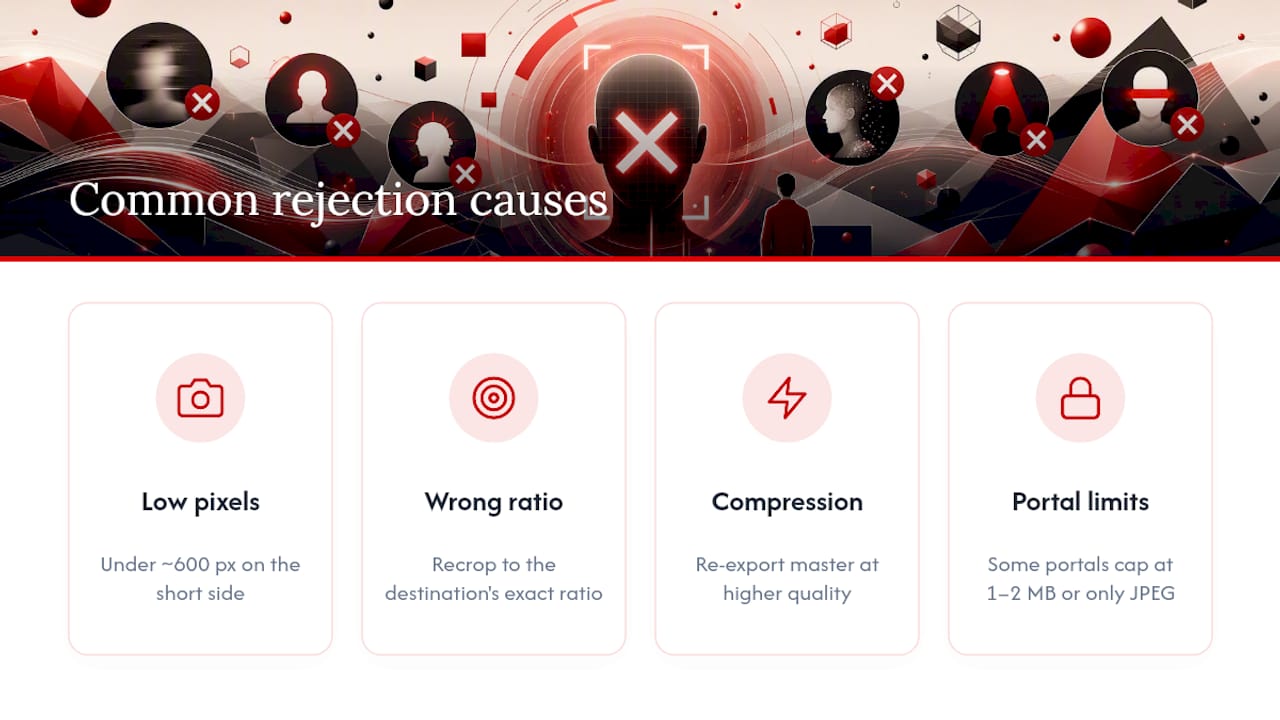
File too small. If a portal flags your headshot as low resolution, check the actual pixel dimensions first. Anything under roughly 600 pixels on the short side is too small for most professional platforms.
Wrong aspect ratio. A square photo forced into a 4:5 slot gets stretched or oddly cropped. Recrop from your master using the destination’s exact ratio rather than letting the platform crop it for you.
Visible compression artifacts or color shifts. Blocky edges or muddy skin tones usually mean the file was compressed too aggressively, sometimes more than once in a row. Re-export from the original master at a higher quality setting rather than recompressing an already-compressed file.
Portal file-size or file-type limits. Some older application systems still cap uploads at 1 or 2 MB or only accept JPEG. When a platform’s limits fight your quality standards, export a second, more compressed version specifically for that portal rather than compromising your primary files, or reach out to whoever manages the portal for guidance.
Metroplex Headshots: A Photographer’s Checklist for Preserving Resolution
Every professional session should build around one rule: capture more pixels than you think you’ll need, because you can always export smaller but never larger. Ask your photographer for the master file, its color space, and confirmation that it’s delivered unlocked from any single crop ratio, so future exports for a LinkedIn photo or a printed bio don’t require a second shoot. A well-composed session keeps shoulders and headroom generous in-camera, which is what makes multiple aspect ratios possible later. Your delivery should include web-ready exports plus at least one high-resolution, print-capable file.
Why a High-Res Master Is a Professional’s Best Long-Term Asset
A single session that produces a proper master file, not just a handful of pre-cropped JPEGs, saves you from paying for a reshoot every time a new use case appears: a press request, a rebrand, a team page overhaul. The professionals who avoid resolution headaches aren’t the ones with the fanciest camera. They’re the ones who insisted on the master file before they ever needed it.
— Traci Schowmeyer
Get Session-Ready Files Without the Back-and-Forth
Requesting the right files after a session shouldn’t require a technical negotiation with your photographer. A full-resolution master alongside platform-ready exports should be delivered as a standard part of any session, so you’re not stuck asking for a re-export three months later when a press request or a new hire page needs a different crop.

In-studio and on-location sessions include delivery of full-resolution files, professional retouching, and background editing, so the master you receive is genuinely usable for print, not just a placeholder. When you book, ask specifically for the untouched master file, an sRGB JPEG set for web and social, and a high-resolution TIFF sized for print. Browse headshot examples to see the range of framing and crop options a single session can produce, then get in touch to schedule a session that gives you every file you’ll need for the next several years, not just the next upload.
Sources
FAQ
What Is a Good Resolution for a Headshot?
For digital use, 800 to 1,200 pixels square is the practical sweet spot. For print, a 2,400×3,000 pixel file at 300 PPI covers a standard 8×10 without any loss of sharpness.
Should I Shoot Photos in 4:3 or 16:9?
Neither ratio is standard for headshots. Portrait work is built around 1:1 square crops for profiles or 4:5 portrait crops for print and bios, so plan your framing around those ratios instead.
Should Headshots Be 8×10?
An 8×10 print is the traditional standard for acting headshots and comp cards, typically exported at 2,400×3,000 pixels at 300 PPI. Corporate and LinkedIn use cases don’t need that print size and instead call for square or 4:5 digital exports.
What Does a 3/4 Headshot Look Like?
A three-quarter headshot frames the subject from roughly the waist or chest up, showing more of the body and setting than a tight face-and-shoulders crop. It’s common for website bios and speaker pages where a bit more context adds presence.
How Do I Know If My Headshot File Is High Enough Resolution for Print?
Divide your file’s pixel dimensions by 300. If a 2,400 pixel wide image divides out to 8 inches or more at that PPI, it’s ready for a close-viewed print; larger banner or lobby prints can work with lower PPI since they’re viewed from farther away.

