

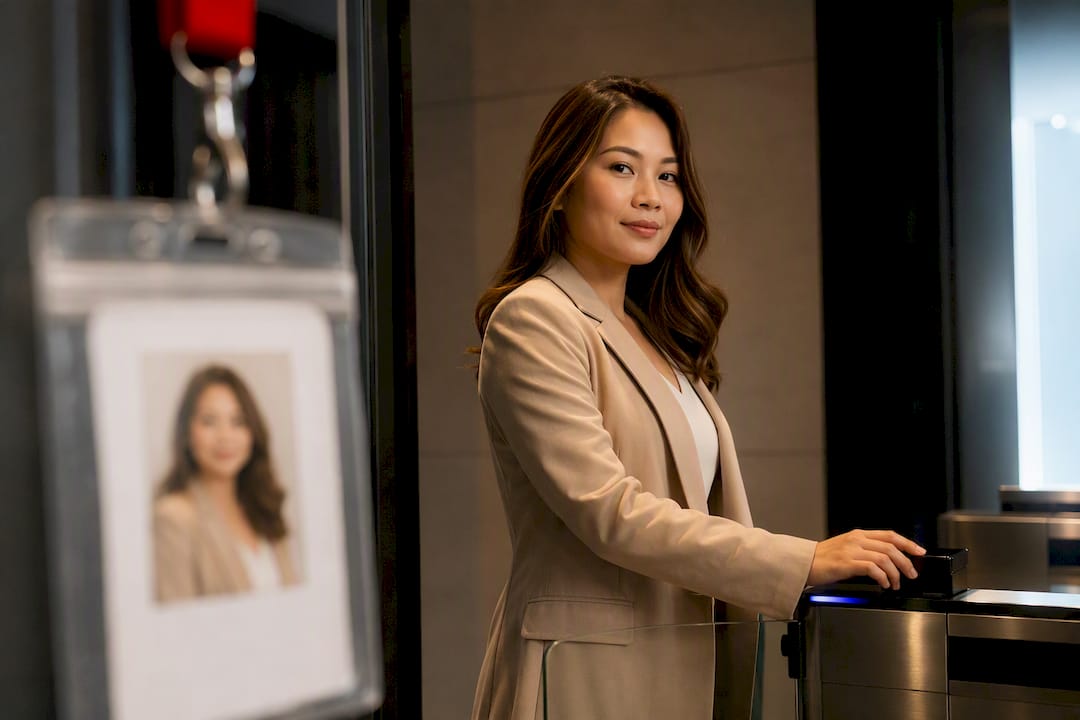
For an ID badge, the single non-negotiable is a clear, front-facing photo with a neutral background and correct crop that preserves facial features for human and automated checks. Lighting must be even, resolution has to be high enough to hold up in print, and the framing needs to follow standard head-height ratios. Get those elements right, and everything else, from wardrobe to expression, falls into place.
TL;DR:
- Proper lighting involves even, shadow-free illumination using diffuse daylight or softboxes to prevent color distortions and ensure facial clarity.
- The face must occupy 50 to 69 percent of the image height with the eye line between 55 and 65 percent from the bottom, taken from about three feet without digital zoom.
- Attire should be solid, subdued, and free of neon or busy patterns, with grooming and expression kept neutral and relaxed for optimal recognition.
- Files must meet minimum resolution of 600 by 600 pixels in JPG or PNG format, with common rejection causes including glare, shadows, poor framing, and incorrect backgrounds.
- Professional headshot sessions include real-time review, limiting retouching to minor corrections and ensuring standards are met to reduce costly reprints.
Table of Contents
- What Goes On Your ID Badge Headshot Checklist?
- How Do You Get Lighting and Background Right?
- What Exact Framing and Technical Specs Do You Need?
- How Should You Dress and Pose for a Badge Photo?
- Should You Use Your Phone or a Dedicated Camera?
- How Do You Submit Files Without Getting Rejected?
- What Wardrobe and Session Tips Does Metroplex Headshots Recommend?
- Why Most Badge Photo Advice Misses the Point
- Ready for a Badge Photo That Actually Works the First Time?
- Sources
- FAQ
What Goes On Your ID Badge Headshot Checklist?
Before you shoot or upload, run through this list. It catches the mistakes that cause the most reprints.
- Lighting: even and shadow-free, front-facing, no harsh overhead glare.
- Background: plain white, gray, or soft blue, no patterns or clutter.
- Framing: head fills the correct portion of the frame, shoulders visible.
- Attire: solid, muted colors, no neon or busy prints.
- Camera settings: no portrait mode, no blur filters, no digital zoom.
- File specs: JPG or PNG, meets the minimum pixel dimensions your system requires.
- Final review: zoom to 100% and check for blur, glare on glasses, or stray shadows.
Treat this like a pre-flight check. Skipping one line rarely feels like a big deal in the moment, but it’s almost always the line that gets the photo bounced back.
How Do You Get Lighting and Background Right?
Soft, even light is what separates a badge photo that reads clearly from one that looks like a mugshot. A single window with diffused daylight, or an inexpensive softbox positioned slightly above and in front of the face, eliminates the harsh shadows that overhead fluorescent lighting tends to create. Fluorescents alone often cast a green or gray tint across skin tones, which is a common reason photos get flagged for retouching before printing.
Background choice matters just as much as light. Plain white, light gray, or a soft blue reads cleanly against both human eyes and automated verification systems, while patterned walls, bookshelves, or busy office backdrops interfere with facial recognition software the same way clutter interferes with a security guard’s quick glance at a badge. Soft, even lighting and uniform backgrounds reduce rejection rates and cut down on reshoots for exactly this reason.
- Set up near a north-facing window for the most consistent daylight.
- Hang a plain sheet or use a portable backdrop if your office walls are cluttered.
- Avoid direct overhead fluorescent tubes as your only light source.
Pro Tip: If you’re photographing yourself at home, position a lamp behind your camera and slightly to one side rather than directly overhead. It softens shadows without washing out your features.
What Exact Framing and Technical Specs Do You Need?
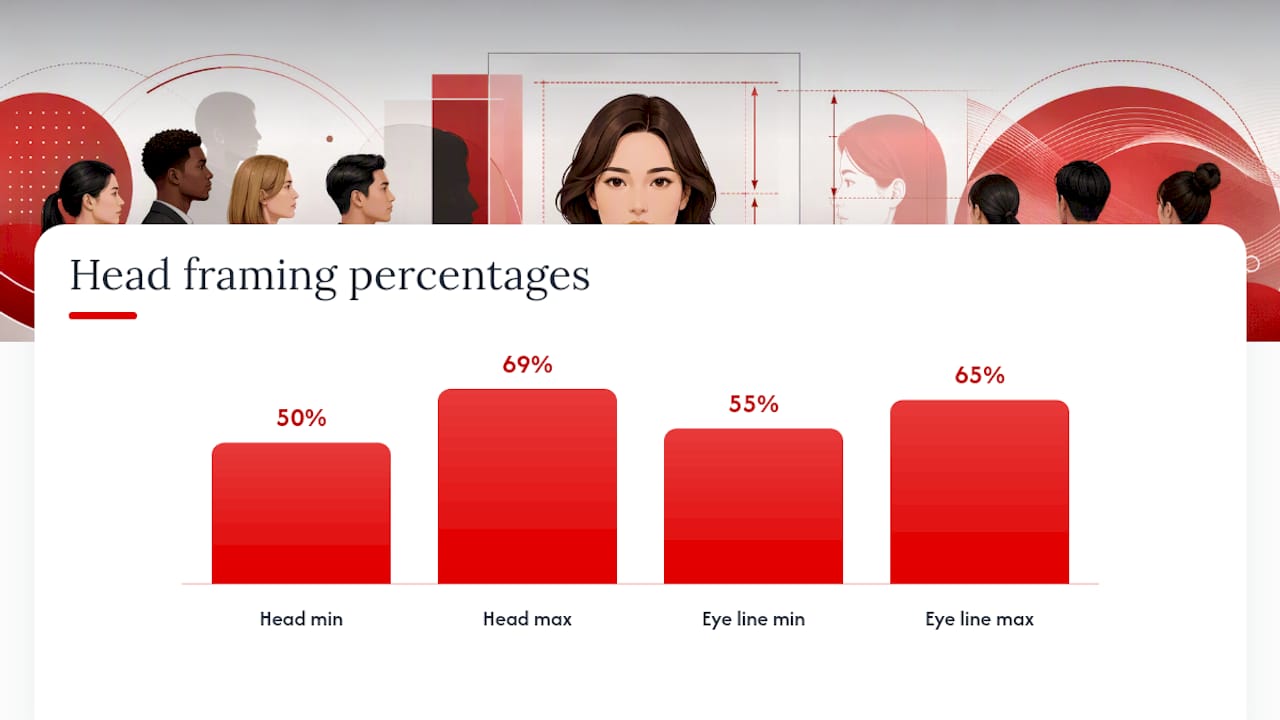
Badge systems aren’t guessing when they reject a photo. Most follow specific geometry standards. The SIA Corporate Credential Design Guide recommends the head occupy roughly 50 to 69% of the image height, with the eye line falling between 55 and 65% from the bottom of the frame. That ratio isn’t arbitrary. It’s what keeps a face recognizable at badge size and compatible with automated matching systems as organizations upgrade their credential technology.
Distance matters too. Position the camera at an appropriate moderate distance from the subject and avoid using digital zoom altogether. Digital zoom distorts facial proportions in ways that can throw off both human reviewers and software, and the same distortion shows up when someone uses a phone’s front camera too close to their face.
| Specification | Recommended Value |
|---|---|
| Head height (% of image) | 50% to 69% |
| Eye line (from bottom) | 55% to 65% |
| Camera distance | About 3 feet |
| Zoom | None (no digital zoom) |
| Minimum resolution | 600×600 pixels or higher |
| File format | JPG or PNG |
Falling short on resolution or ignoring the head-height ratio are two of the most common technical reasons a badge photo bounces back for a retake.
How Should You Dress and Pose for a Badge Photo?
What you wear and how you hold your expression both affect whether HR or security signs off on the photo. Solid, subdued colors photograph best. Bright neon, busy patterns, and logos tend to distract from the face, which is the whole point of the shot. A collared shirt or blazer frames well within the tight crop a badge requires.
Grooming and expression matter just as much:
- Keep hair off your face and eyes fully visible.
- Skip heavy jewelry that can catch glare or shift with movement.
- If you wear glasses, tilt your head slightly or use anti-reflective lenses to avoid glare; many agency policies require removing sunglasses entirely except for documented medical needs.
- Hats are generally not allowed unless worn for religious or medical reasons.
- Aim for a neutral expression or a slight smile with your eyes open and clearly visible.
Exaggerated smiles or squinting can interfere with recognition software the same way shadows or busy backgrounds do, so keep the expression relaxed and natural.
Should You Use Your Phone or a Dedicated Camera?
Either device can produce a badge-ready photo. What matters is following the right sequence.
- Phone workflow: Turn off portrait mode and any blur or beauty filters, wipe the lens, lock your exposure on your face, and steady the phone on a tripod or stable ledge before shooting.
- Camera workflow: Use a focal length in the 50 to 85mm range to avoid distortion, mount the camera on a tripod, and adjust your lighting setup so it’s even across the face.
- Quality check: Zoom in to 100% immediately after the shot. Confirm the background is uniform, both eyes are clearly visible, and there’s no motion blur before you move on.
Skip anything labeled portrait mode or bokeh. Blurred backgrounds can register as artifacts that trip up automated processing pipelines, which is exactly the opposite of what a badge photo needs.
How Do You Submit Files Without Getting Rejected?
Most badge systems accept JPG or PNG files, and most require a minimum of 600×600 pixels, though some organizations set the bar higher for print quality. Keep file sizes reasonable, generally under 5MB, unless your system specifies otherwise.
The most common rejection reasons are predictable once you know what to look for:
- Shadows across the face: usually fixed by repositioning your light source, not by retaking the whole shoot.
- Wrong background color: swap out the backdrop rather than trying to edit it later.
- Glare on glasses: tilt your head slightly downward or angle the light source away from the lens.
- Incorrect framing: recrop before resubmitting rather than reshooting from scratch.
If a fix is cosmetic, a light retouch is fine. If it changes how you actually look, retake the photo instead. Guided capture tools offered by some badge vendors can walk you through compliant framing remotely, which cuts down on the back-and-forth of reprints.
What Wardrobe and Session Tips Does Metroplex Headshots Recommend?
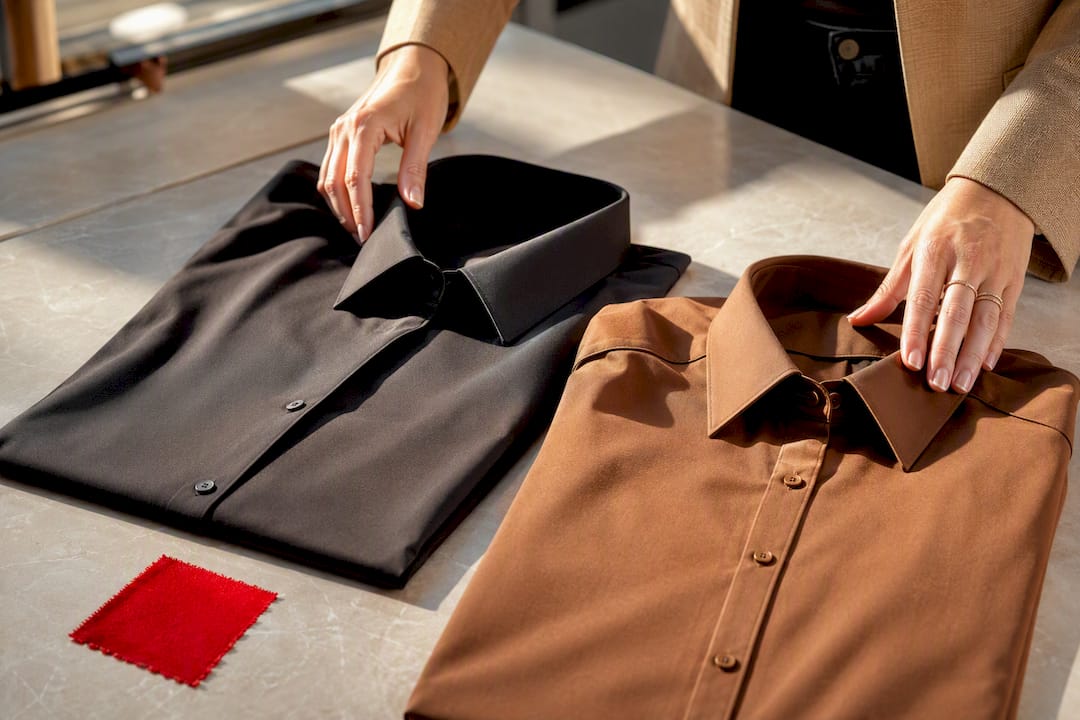
Your badge photo is a small but visible extension of how you present yourself professionally, and it should match your role and workplace culture. The wardrobe advice for badge-ready sessions is consistent: skip neon, choose collars that frame well within a tight crop, and pick colors with enough contrast to read clearly even at the small size a badge prints at.
A professional session also builds in quality control you won’t get from a phone selfie. Real-time image review catches framing or lighting issues before you leave the chair, and any retouching stays limited to minor corrections that preserve your actual appearance rather than altering it. That balance, looking sharp without looking edited, is what badge systems and HR departments are both checking for.
Why Most Badge Photo Advice Misses the Point
Most guidance on badge photos treats it like a vanity exercise, tips for looking your best on a laminated card nobody really examines. That’s backwards. The research behind portrait geometry standards like the SIA guide exists because organizations are quietly moving toward biometric-compatible credentials, and a photo that doesn’t meet head-height and eye-line ratios today can force a costly reissue tomorrow. The technical requirements aren’t bureaucratic overreach. They’re the reason your badge will still work when your employer upgrades its access control system in three years.
Where conventional advice really falls short is treating lighting and wardrobe as separate from the technical specs. They’re not. A neon shirt or a shadow across your cheek doesn’t just look unprofessional, it can genuinely interfere with automated matching the same way an incorrect crop does. If you only fix one thing before your next badge photo, fix the background and lighting first. Everything else, expression, wardrobe, even framing, is easier to correct once those two fundamentals are solid.
It takes ten seconds and catches nearly every technical failure before it becomes an HR department’s problem.
— Traci Schowmeyer
Ready for a Badge Photo That Actually Works the First Time?
DIY badge photos save time upfront, but they’re also where most reprints originate. Professional studio and on-location sessions include real-time image review, so framing, lighting, and background get corrected before you leave the chair, not after a rejection notice lands in HR’s inbox.

For individuals booking a single session or HR coordinators standardizing photos across an entire team, professional capture removes the trial and error entirely. Retouching stays limited to what preserves your actual appearance, keeping you compliant with badge geometry standards without looking over edited. If your organization is updating credentials for multiple employees at once, company-wide session options make it simple to get consistent results across every badge. Ready to see the difference a professional session makes? Compare headshot and portrait session options and book a time that works for your schedule.
Sources
- Oklahoma Department of Corrections – Identification policy (OP-040112)
- ExpressBadging support: How do we take great photo ID headshots
FAQ
Is There a Dress Code for ID Photos?
Most organizations require solid, subdued clothing and prohibit sunglasses or hats except for religious or medical reasons, following common patterns in agency photo policies. Busy patterns and neon colors are typically discouraged because they distract from facial features.
How Do You Make an ID Photo Look Good?
Use soft, even lighting, a plain neutral background, and keep the camera about three feet away without zooming in. Combine that with a relaxed, neutral expression and solid-colored clothing for the cleanest result.
How Should ID Badges Be Worn?
Most workplace policies require badges to be worn visibly, typically clipped or on a lanyard at chest level, with nothing obscuring the printed photo or data. This visibility requirement is part of why the underlying photo needs to be sharp and clearly framed in the first place.
How Do You Look Good in a Badge Photo?
Focus on the fundamentals first: even lighting, a neutral background, and a natural expression with eyes open and visible. A professional session, like those offered through Metroplex Headshots, adds real-time quality checks that catch issues a phone selfie usually misses.

