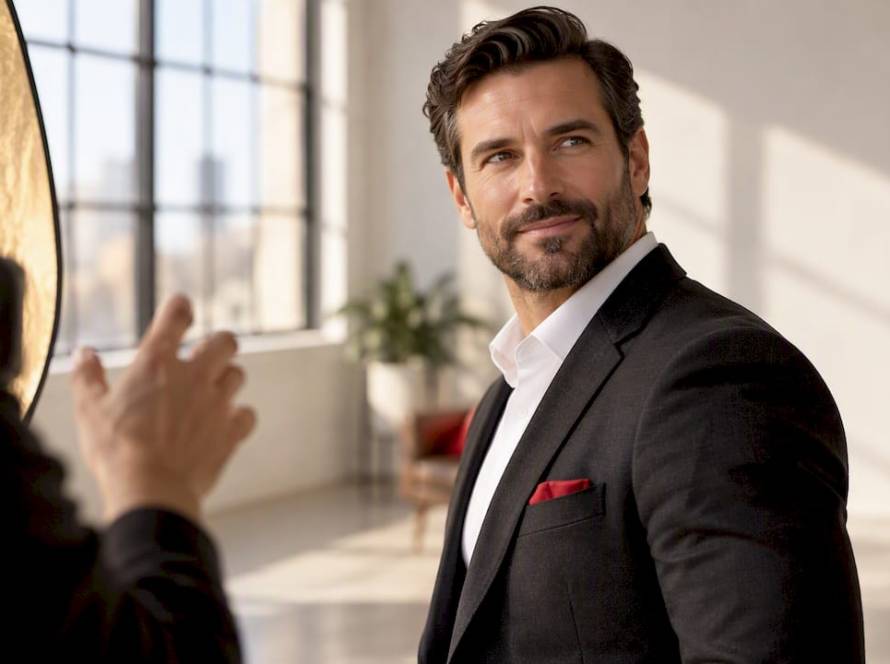
Headshot photography is the professional process of capturing images that authentically represent your personal brand through deliberate preparation, shooting techniques, and post-production editing. The headshot photography process explained in full covers three distinct phases: pre-session planning, shoot day execution, and post-production retouching. Each phase directly shapes whether your final image projects the executive presence and brand alignment your professional profile demands. Skip any phase and you risk visual drift, where your headshot no longer reflects who you are or what you do.
What are the key preparation steps before a headshot session?
Preparation is the most critical factor in the entire headshot process. Knowing your purpose and wardrobe before the session gives your photographer the information needed to align lighting, background, and expression strategy with your specific goals. A real estate agent, a tech executive, and a healthcare professional each need a different visual tone, and that distinction starts before you ever step in front of a camera.
Wardrobe is where most professionals make their first mistake. Solid colors and industry-appropriate formality outperform bold patterns every time, and pure white or pure black should be avoided because they create exposure problems under studio lighting. Bringing two outfit options is not optional. Lighting conditions in a studio can shift the perceived color of fabric, so what looks navy at home may read as black on camera.
Here is a practical pre-session checklist to work through before your appointment:
- Wardrobe: Choose solid, mid-tone colors that match your industry’s formality level. Review wardrobe tips for headshots to confirm your choices before the day.
- Grooming: Schedule haircuts at least one week before the session, not the day before. For makeup, natural and matte finishes photograph better than high-shine products.
- Glasses: If you wear glasses, discuss glare management with your photographer in advance. Anti-reflective lenses help significantly.
- Session purpose: Communicate clearly whether the image is for LinkedIn, a corporate annual report, a speaking bio, or a law firm website. Each context calls for a different expression and background.
- Timeline: Book your session with enough lead time to allow for retouching and delivery before your deadline.
Pro Tip: Pack your outfits the night before and steam or press them. Wrinkles that seem minor in person become distracting in a high-resolution image.
How does a professional headshot shoot typically proceed?
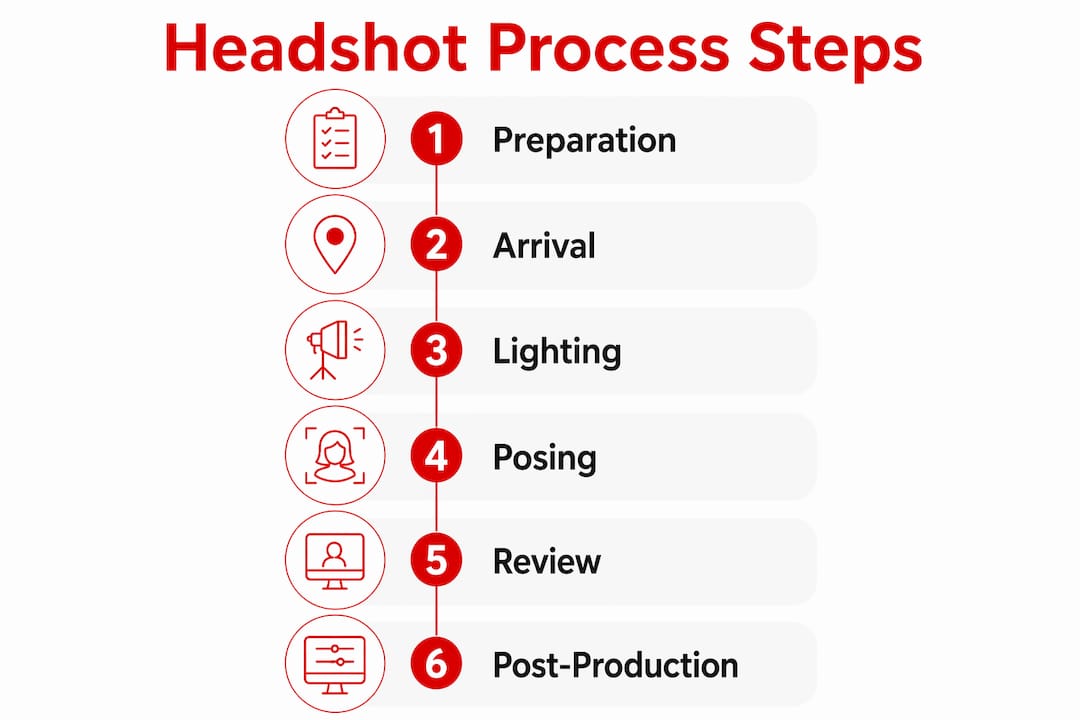
Most professionals are surprised by how active a headshot session actually is. Session steps include arrival and wardrobe check (5 to 10 minutes), lighting test (5 minutes), main shooting (15 to 45 minutes), and image review (5 to 15 minutes), totaling roughly 30 to 90 minutes depending on the package. That is not a passive experience. Your photographer is coaching you through posture, expression, and micro-adjustments the entire time.
Here is the typical sequence for a professional headshot session:
- Arrival and wardrobe check. Your photographer reviews your outfit choices under the actual studio lighting. Colors and textures that work in natural light sometimes need adjustment under strobes.
- Lighting test. The photographer fires test shots to calibrate exposure, shadow depth, and background separation. This is technical setup time, not wasted time.
- Warm-up frames. The first frames are intentionally low-pressure. A progressive shoot approach using warm-up shots, micro-adjustments, and a locked pose-and-light combination produces higher keeper rates and more natural expressions.
- Main shoot. Your photographer directs posture, chin position, and eye contact continuously. This is active coaching, not passive clicking.
- Tethered review. Tethered shooting allows for real-time client feedback, with images displayed on a large calibrated monitor at 100% zoom so you can verify focus, expression, and exposure before the session ends.
- Final selection. You and your photographer narrow down the best frames together, reducing ambiguity in the post-production phase.
| Session phase | Typical duration |
|---|---|
| Arrival and wardrobe check | 5 to 10 minutes |
| Lighting test | 5 minutes |
| Main shooting | 15 to 45 minutes |
| Image review and selection | 5 to 15 minutes |
Pro Tip: If you are booking team headshots, allocate 3 to 10 minutes per person and confirm that your photographer maintains consistent lighting between subjects. Inconsistent lighting across a team creates a disjointed look on your company website.
What are essential headshot photography techniques for lighting and posing?
Lighting and posing are the two technical variables that separate a professional headshot from a smartphone snapshot. Three-point lighting uses a key light, fill light, and rim light to create dimension, control shadows, and define natural face contours without harsh lines. The key light provides the primary illumination, the fill light softens shadows on the opposite side, and the rim light separates the subject from the background. Together, they create depth that reads as authority and confidence.
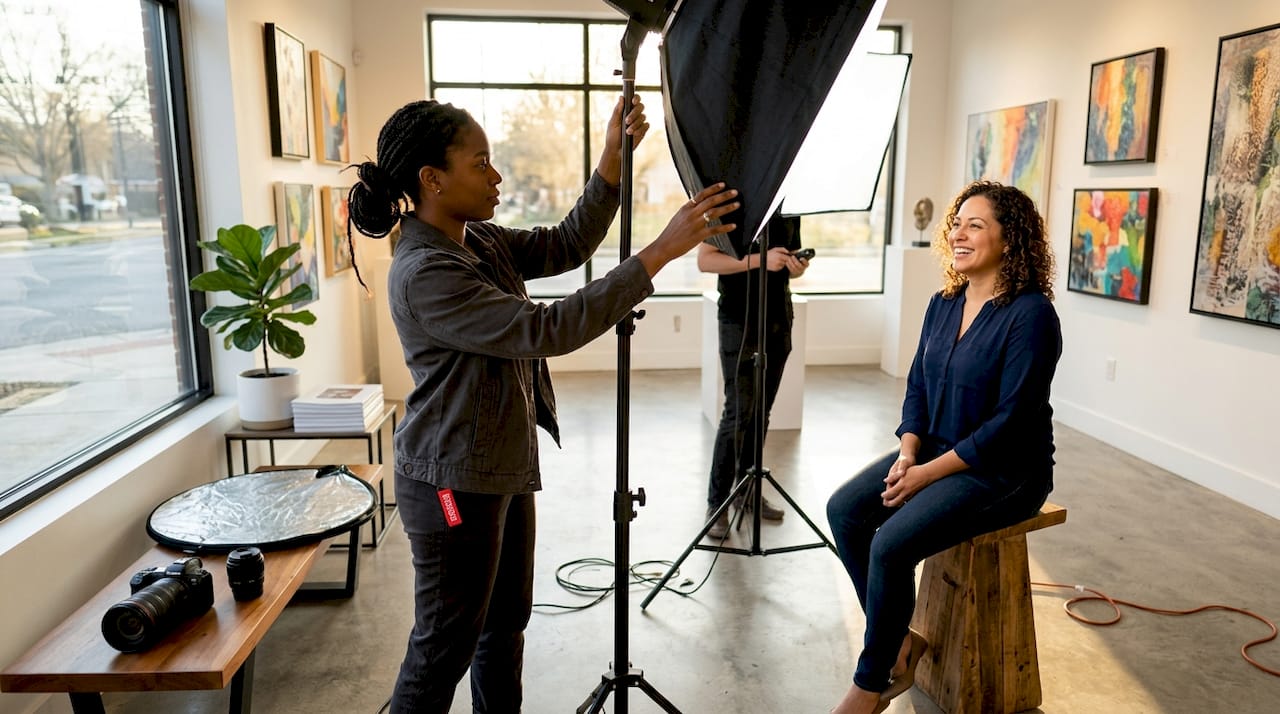
Camera positioning matters as much as the lights. Camera placement near eye level or slightly above enhances jawline definition and avoids the distortion that wide-angle lenses introduce at close range. A lens in the 85mm to 135mm range is the standard choice for headshots because it compresses facial features in a flattering way.
Lighting setup comparison:
| Setup | Effect | Best for |
|---|---|---|
| Three-point lighting | Dimensional, shadow-controlled | Corporate, executive, LinkedIn |
| Broad lighting | Wider face appearance | Narrower face shapes |
| Short lighting | Slimmer face appearance | Rounder face shapes |
| Window light (natural) | Soft, approachable | Creative, lifestyle brands |
Posing is where most non-models struggle, and over-posing is the most common problem. Forced smiles and rigid shoulders communicate tension, not confidence. Effective posing cues include:
- Chin slightly forward and down to define the jawline without looking aggressive.
- Shoulders angled 15 to 30 degrees from the camera rather than square-on, which creates a more natural silhouette.
- The squinch technique, a subtle tightening of the lower eyelid, adds intensity and engagement without looking strained.
- Breathing naturally between frames resets the face and prevents the locked, frozen expression that ruins otherwise technically perfect shots.
Understanding what makes a good headshot comes down to the interaction between these lighting and posing choices. Neither element works in isolation.
What is the post-production workflow in headshot photography?
Post-production is where a technically good image becomes a professionally polished one. The standard retouching workflow follows a specific order: global corrections first, targeted cleanup second. Retouching best practice starts with balancing global exposure and color, then selectively cleaning blemishes and stray fibers while preserving natural skin texture. Reversing that order creates inconsistencies that are difficult to fix.
Here is the professional post-production sequence:
- Culling. The photographer reviews all frames and removes technically flawed images (out-of-focus, poor expression, blinks). You typically receive a curated gallery of 20 to 50 selects.
- Global corrections. Exposure, white balance, and contrast are adjusted across all selected images for consistency.
- Targeted retouching. Temporary blemishes, stray hairs, and background distractions are removed. This is where precision matters.
- Skin texture preservation. Over-retouching removes micro-contrast and pores, causing a waxy, unnatural look. Professional retouchers preserve character lines and subtle skin texture to maintain authenticity.
- Delivery. Final images are delivered in web-optimized JPEG and high-resolution formats, typically within 5 to 10 business days.
Pro Tip: Request both a web-sized version (under 1MB) and a print-resolution version of your final images. LinkedIn and your website need different file sizes, and having both ready saves time when you update your profiles.
Usage rights matter too. Confirm before your session whether you receive full commercial rights or a limited personal license. Corporate use, advertising, and print publications often require explicit rights language in your contract.
How can understanding the headshot process improve your personal branding?
Knowing the headshot photography process before you walk into a session changes your results. When you understand what each phase is designed to accomplish, you participate more effectively rather than passively waiting for the photographer to produce something. That active involvement is the secret sauce of professional branding through photography.
Strategic preparation aligns your shoot with your brand goals from the start. A professional headshot session guide helps you define the emotion and authority level you want to project before you choose your outfit or book your date. That clarity translates directly into better direction for your photographer.
Here is how process knowledge pays off across your professional platforms:
- LinkedIn: A well-lit, expression-coached headshot increases profile views. Your image is the digital handshake that precedes every connection request.
- Company website: Consistent lighting and background across your team signals organizational cohesion and professionalism.
- Speaking bios and press kits: High-resolution, properly retouched images reproduce cleanly in print and digital formats without pixelation or color shifts.
- Annual reports: Corporate headshot guidance for annual reports confirms that executive images in formal publications require specific resolution and format standards.
Minimizing reshoot risk is another direct benefit. Clients who understand the tethered review step use it to flag issues during the session rather than discovering problems after delivery. That real-time involvement, combined with clear pre-session communication, reduces the likelihood of needing a second appointment.
Key takeaways
A professional headshot requires deliberate preparation, active shoot-day participation, and technically precise post-production to produce an image that genuinely represents your brand.
| Point | Details |
|---|---|
| Preparation drives results | Define your session purpose and wardrobe before arrival to align lighting and expression with your brand goals. |
| Sessions are active, not passive | Expect 30 to 90 minutes of coaching, wardrobe checks, lighting tests, and real-time image review. |
| Lighting and posing work together | Three-point lighting and natural posing cues create dimension and confidence that flat setups cannot replicate. |
| Retouching requires restraint | Preserve skin texture and character lines to avoid the waxy look that over-retouching produces. |
| Process knowledge reduces reshoots | Understanding each phase lets you participate actively and catch issues before the session ends. |
Why I think most professionals underestimate what a headshot session actually demands
I’m Traci Schowmeyer, and after years of working with professionals across industries, the pattern I see most often is this: people arrive expecting a quick click-and-go experience and leave surprised by how much work went into 45 minutes. That surprise is the problem. When you walk in without understanding the process, you spend the first 20 minutes just getting comfortable, and by the time you are relaxed and ready, the session is winding down.
The misconception I hear most is that a great headshot is mostly about the photographer’s skill. Skill matters, but your preparation and in-session engagement matter just as much. The clients who arrive having reviewed professional photo shoot tips and thought through their brand goals consistently walk away with stronger images than those who show up cold.
The other thing I want to push back on is the idea that retouching fixes everything. It does not. Retouching refines a technically good image. It cannot rescue poor lighting, a stiff expression, or a wardrobe choice that competes with your face. The post-production phase is the final 20% of the result. The other 80% happens before and during the shoot. Invest your energy there first.
— Traci Schowmeyer
Ready to put this process to work for your brand?
At Metroplex Headshots, every session follows the exact workflow described in this article: a thorough pre-session consultation, a fully coached shoot day with tethered review, and professional retouching that preserves your natural character. You are not just getting a photo. You are getting a brand asset built with intention.
Whether you are updating your LinkedIn profile, preparing for a speaking engagement, or refreshing your company website, the professional headshot session process at Metroplex Headshots is designed to deliver images that reflect exactly who you are and what you do. Explore the national headshot services available and take the first step toward a headshot that works as hard as you do.
FAQ
What does the headshot photography process include?
The headshot photography process covers pre-session planning, shoot day execution (including lighting tests, coaching, and tethered review), and post-production retouching. A typical session runs 30 to 90 minutes from arrival through image selection.
How long does a professional headshot session take?
Most individual sessions run between 30 and 90 minutes total. The main shooting portion takes 15 to 45 minutes, with the remaining time split between wardrobe checks, lighting setup, and image review.
What should I wear for a professional headshot?
Solid colors with industry-appropriate formality photograph best. Avoid pure white, pure black, and bold patterns. Bring two outfit options because studio lighting can shift how fabric colors appear on camera.
What is tethered shooting and why does it matter?
Tethered shooting connects the camera to a monitor so you can review images at full size during the session. It allows you to verify focus, expression, and exposure in real time, which reduces the chance of discovering problems after the session ends.
How much retouching is standard for a professional headshot?
Standard retouching covers global exposure and color correction plus targeted cleanup of temporary blemishes and distractions. Over-retouching that removes skin texture creates an unnatural, waxy appearance. Professional retouchers preserve character lines and natural skin detail to keep the image authentic.