


Lighting is the single most powerful variable in professional portrait photography. Before a viewer reads your name, your title, or your bio, they have already formed an impression based on how your face is lit. The role of lighting in professional portraits goes far beyond exposure. It sculpts your features, signals your personality, and communicates your professional authority in ways that no camera body or background choice can replicate.
Lighting achieves four core things in a portrait:
- Shapes the face: Controls how dimensional, defined, or soft your features appear
- Sets the mood: Determines whether the image reads as warm and approachable or authoritative and serious
- Tells a story: Communicates brand alignment, industry context, and professional intent
- Builds trust: Proper catchlights, color temperature, and shadow balance make viewers feel engaged rather than unsettled
No amount of post-processing fully corrects a portrait built on the wrong light. Getting it right starts before the shutter fires.
How lighting sets the emotional tone of your portrait
Light does not just illuminate a face. It tells the viewer how to feel about it. Soft, diffused lighting in portraits is consistently linked to perceptions of warmth and approachability, while harsh, high-contrast lighting reads as distant and intense. That is not a stylistic preference. It is a measurable psychological response.
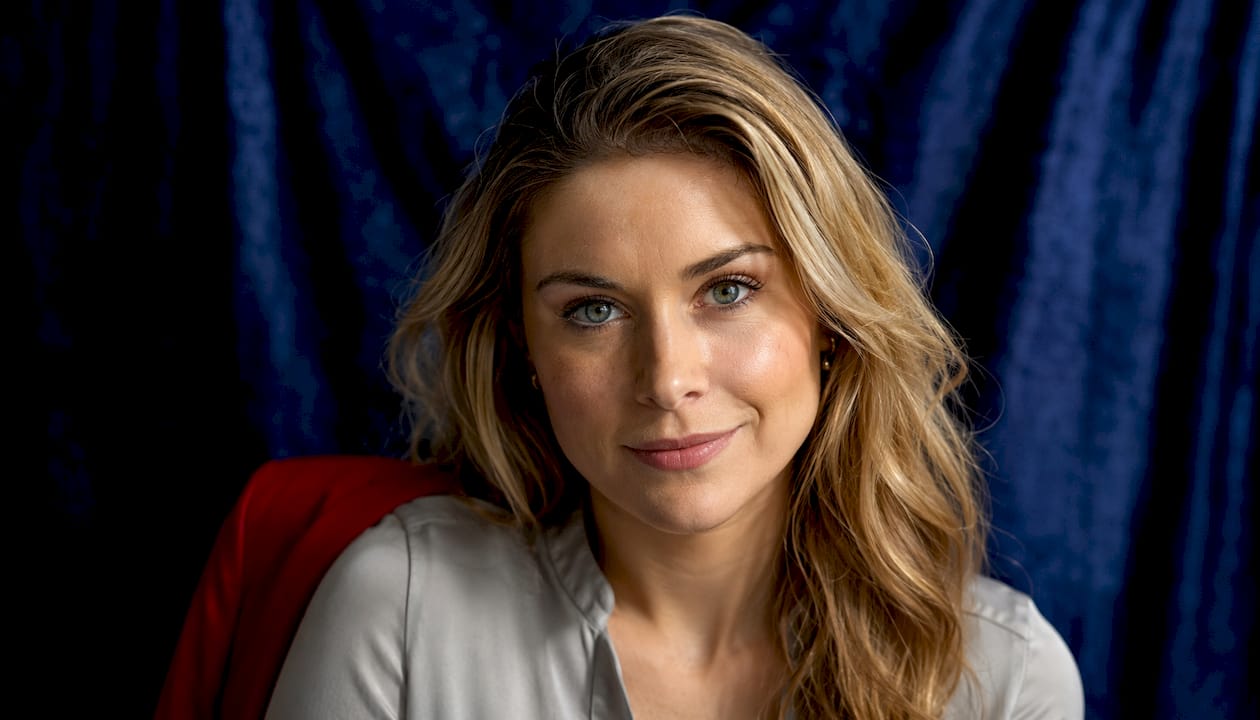
High-key lighting suggests openness and transparency, making it ideal for client-facing roles in sales, HR, or customer success. Low-key lighting, with its deep shadows and narrow pools of illumination, projects power and mystery. The risk with low-key setups is tipping into severity if the shadows are not carefully managed.
Lighting ratios are the practical tool for controlling this emotional range:
- 2:1 or 3:1 ratio: Approachable, friendly, open. The lit side is two to three times brighter than the shadow side.
- 5:1 to 8:1 ratio: Authoritative, focused, confident. Stronger contrast with minimal fill.
- 10:1 and above: Dramatic, edgy, cinematic. Deep shadows with selective illumination.
A financial advisor and a creative director may wear the same suit in the same studio, but the lighting ratio alone will make one look trustworthy and the other look compelling. Choosing the right ratio is choosing the right message.
Natural light versus artificial light in professional portraits
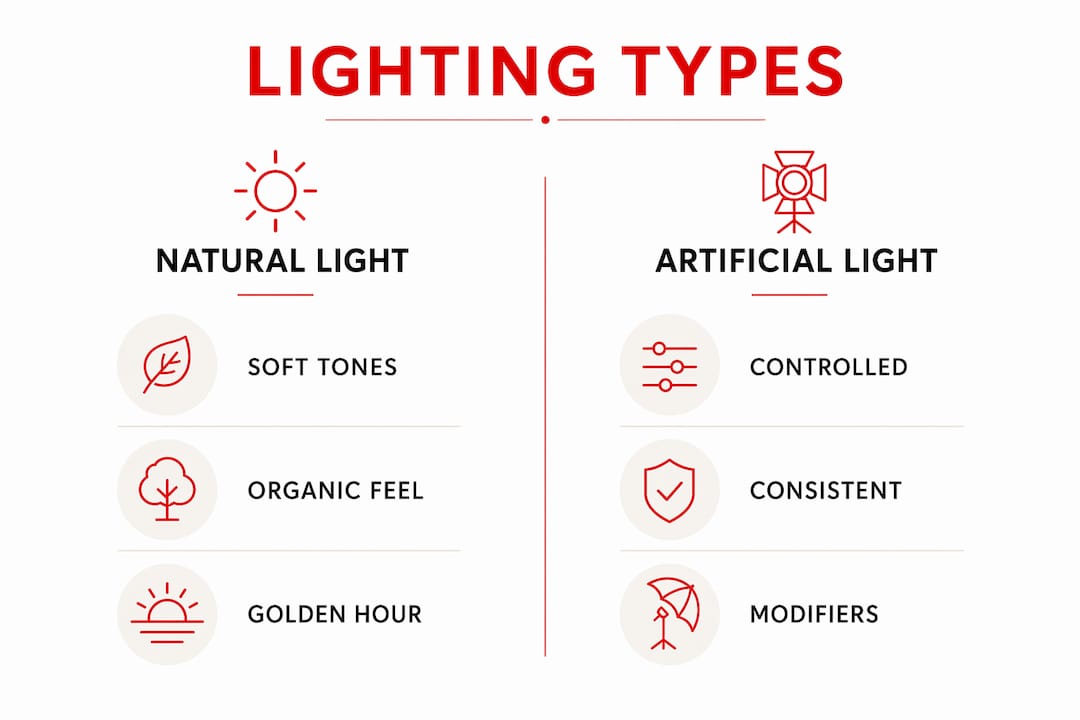
Natural light has a genuine appeal. Shooting in open shade or during golden hour produces soft, organic tones that feel modern and authentic. Startups, lifestyle brands, and professionals who want to step away from the traditional corporate aesthetic often prefer it for exactly that reason.
The limitation is consistency. Studio lighting provides superior uniformity for corporate portraits compared to natural light, which shifts as clouds pass and the sun moves. If a company needs headshots for fifty employees, the CEO photographed at 9:00 AM and the associate photographed at 4:00 PM need to look like they belong to the same visual brand. Studio strobes and continuous LEDs make that possible. Natural light does not.
Key considerations for each approach:
- Natural light: Flattering and organic, but variable. Best for individual sessions, lifestyle brands, and outdoor environments with controlled shade.
- Artificial light: Consistent and controllable. Required for batch corporate shoots, studio environments, and brand-level visual consistency.
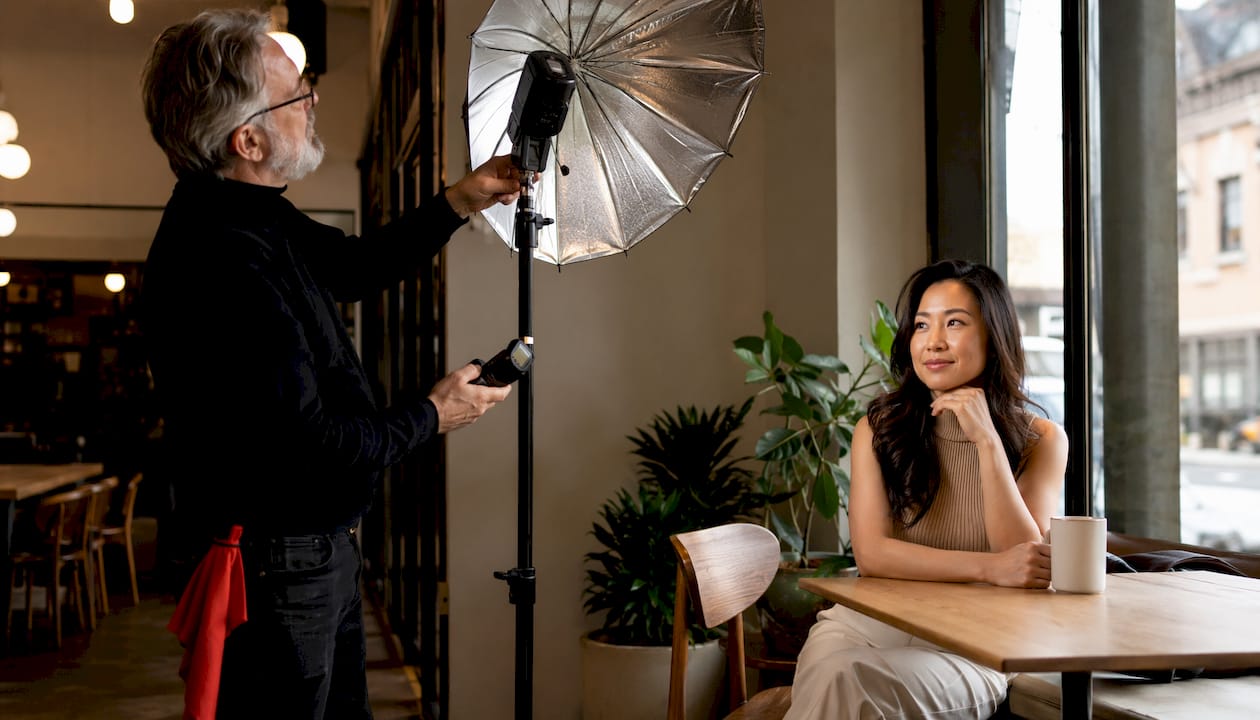
- Balancing both: On-site corporate shoots often blend ambient window light with a single strobe or reflector to maintain a natural feel without sacrificing control.
For photographers working in office environments, the practical move is to assess the space first, identify the dominant light source, and decide whether to work with it or override it entirely. The best professional portrait studio setups are built around this kind of deliberate control.
How light direction and quality define the final image
Where light comes from changes everything about how a face reads on camera. A 45-degree key light, positioned above and to the side of the subject, is the most widely used direction in portrait photography for good reason. Research published in Frontiers in Neuroscience found that lighting styles that hide or distort facial features elicit stronger negative subliminal emotional responses than standard 45-degree illumination, which reveals the full face and creates natural depth.
| Light Direction | Effect on Portrait | Best Use |
|---|---|---|
| 45-degree (dimensional) | Depth, defined jawline, natural shadow | Corporate, executive, most professional portraits |
| Front (flat) | Even, shadow-free, two-dimensional | Avoids wrinkles but can look amateurish |
| Side (split) | High drama, half face in shadow | Creative, artistic, edgy portfolios |
| Backlight (rim) | Separation from background, depth | Adds polish and three-dimensionality |
| Underlight / toplight | Distorts features, hides eyes | Avoid in professional portraits |
Light quality matters just as much as direction. Soft light, produced by large diffused sources, wraps around the face and minimizes texture. Hard light from a small, direct source creates sharp shadow edges and adds drama. For most professional portraits, soft light is the default because it flatters every skin type and age. Hard light earns its place in creative or editorial work where drama is the point.
Pro Tip: Feathering your key light, by aiming it slightly in front of the subject rather than directly at their face, produces softer, more flattering illumination without requiring a larger modifier.
Common lighting setups and patterns for professional portraits
Every professional lighting setup builds from a foundation of three lights: the key light (primary source), the fill light (shadow management), and the rim or hair light (separation and depth). Three-point lighting is the industry standard for controlling shadow softness, depth, and subject separation in portrait shoots.
Beyond the three-point foundation, specific patterns carry distinct psychological weight:
| Pattern | Shadow Behavior | Best For |
|---|---|---|
| Butterfly (Paramount) | Symmetrical shadow under nose | Glamour, approachable executives, clean corporate |
| Rembrandt | Small triangle of light on shadow cheek | Authority, gravitas, senior leadership |
| Loop | Small shadow below and beside nose | Versatile, natural, most professional contexts |
| Split | Half face lit, half in shadow | Creative, dramatic, editorial |
| Short lighting | Shadow on camera-facing side | Narrows face, projects gravitas |
Short lighting is the preferred pattern for executive portraits because it narrows the face and adds a sense of gravitas. Rembrandt and Paramount patterns, by contrast, were rated among the most favorable for perceived appeal and trustworthiness in portrait perception research. Split lighting and under-lighting consistently produced the most negative responses in the same studies, which is why they belong in creative portfolios, not corporate headshots.
For photographers building their executive portrait workflow, documenting your exact power settings and light positions after each successful setup is the fastest way to build repeatable results.
What research tells us about lighting psychology in portraits
The science behind portrait lighting is more specific than most photographers realize. Viewers process lighting directionality pre-consciously, forming an emotional reaction before any deliberate analysis takes place. By the time someone consciously decides whether they trust a headshot, the lighting has already done its work.
Research on portrait lighting design confirms that Frontal, Paramount, and Rembrandt lighting styles are rated significantly more favorably for appeal and trustworthiness than Under or Split lighting. The same research found that eeriness ratings followed the same pattern regardless of skin texture or character, meaning the lighting pattern itself, not the subject, drives the negative response.
Mixed color temperature lighting compounds the problem. When warm office light and cool daylight hit a subject simultaneously, the result is unnatural skin tones that subconsciously reduce viewer trust. Professional sessions maintain a single, consistent color temperature, typically in the 5000–5600K range for a clean, neutral result. The importance of lighting in portraits extends across every genre of professional photography for exactly this reason.
How to modify and control your lighting
Raw light sources rarely produce the exact quality you need. Modifiers are what translate a strobe or LED panel into a specific emotional outcome.
- Softboxes: The most common modifier for professional portraits. A large softbox (36 inches or larger) produces even, flattering illumination that wraps around the face and minimizes harsh shadows.
- Umbrellas: Shoot-through umbrellas spread light broadly and softly. Reflective umbrellas concentrate it slightly more. Both are portable and affordable.
- Reflectors: A white or silver reflector on the shadow side of the face fills in darkness without adding another powered light source. Essential for single-light setups.
- Grids: Attach a grid to a softbox or beauty dish to narrow the light spread and prevent spill onto the background. Useful for controlled, dramatic setups.
- Diffusion panels: Placed between the light source and the subject, diffusion fabric softens hard light without the bulk of a full softbox.
- Gels: Color gels shift the color temperature of a light source. Use CTO gels to warm a strobe to match tungsten ambient light, or CTB gels to cool it toward daylight.
The goal with any modifier is to match the light quality to the emotional intent of the portrait. Soft and broad for approachability. Harder and more directional for authority. Gels and grids for creative or brand-specific work.
Choosing the right lighting equipment for your portrait sessions
Equipment decisions should follow the type of work you do most, not the gear with the longest spec sheet.
For studio-based corporate sessions, a monolight or strobe system with a large softbox as the key light, a secondary fill source or reflector, and an optional rim light covers the vast majority of professional portrait needs. The Profoto RFi Softbox line and similar large-format modifiers are industry standards for a reason: they produce consistent, flattering light that holds up across a full day of shooting.
For on-location or on-site corporate work, portability matters more than raw power. A single battery-powered strobe with a collapsible softbox and a reflector can produce results indistinguishable from a full studio setup in most office environments. A light meter is not optional for batch shoots. Maintaining exact power settings across fifty subjects is what separates consistent professional results from a collection of close-but-not-quite images.
Continuous LED panels have become a practical alternative to strobes for photographers who shoot both stills and video. Look for panels with a CRI of 95 or higher to ensure accurate, healthy-looking skin tones across all complexions.
Lighting techniques for different skin tones and textures
Skin tone and texture change how light behaves on the face, and a setup that looks perfect on one subject can be unflattering on another without adjustment.
Darker skin tones absorb more light and require more exposure to reveal detail in the shadows. Increasing key light power slightly, or moving the light source closer, prevents the shadow side of the face from going too dark. A reflector on the fill side is particularly effective here because it adds light without creating a second hard source.
Lighter skin tones reflect more light and are more susceptible to overexposure and blown-out highlights. Pulling the key light back slightly, or using a lower-power setting, preserves skin detail and prevents a washed-out appearance.
For subjects with pronounced skin texture, wrinkles, or blemishes, soft light is your primary corrective tool. A large, diffused source placed close to the subject wraps light around the face and reduces the appearance of texture before any retouching happens. Hard light does the opposite: it rakes across the skin and makes every pore visible. Reserve hard light for subjects where texture reads as character rather than a flaw.
Color temperature also affects how skin tones render. Neutral to slightly warm light (around 5200K) is the most flattering across a wide range of complexions. Cooler light can make darker skin look ashy, and warmer light can make lighter skin look ruddy.
Post-processing considerations tied to your lighting choices
Good lighting reduces the post-processing workload significantly. A portrait shot with consistent color temperature, proper exposure, and controlled shadows needs far less correction in Adobe Lightroom or Capture One than one shot under mixed or uncontrolled light.
The most common post-processing issues trace directly back to lighting decisions made on set. Mixed color temperature creates color casts that are difficult to correct without affecting skin tone accuracy. Underlit shadow areas introduce noise when lifted in post. Overexposed highlights on the forehead or cheeks cannot be recovered once the data is gone.
Skin retouching is more natural when the original light was soft. Frequency separation and dodge-and-burn techniques work with the existing light and shadow structure of the image. When the lighting was harsh or unflattering, retouching often ends up fighting the original light rather than refining it, and the result looks processed rather than polished.
Batch consistency for corporate shoots is almost entirely a lighting discipline. When every subject is photographed under identical power settings, modifier positions, and color temperature, the editing process becomes a matter of applying a single preset and making minor individual adjustments. That efficiency is what makes professional portrait investment worthwhile at scale.
Metroplex Headshots builds every session around deliberate lighting choices that align with your professional identity and brand goals. Whether you need approachable warmth for a client-facing role or the gravitas of executive presence, the right setup makes that message clear before you say a word. Explore headshot photo examples to see how lighting transforms a portrait from a photo into a professional statement.

Key Takeaways
Lighting is the primary variable that determines whether a professional portrait communicates authority, warmth, or trust, and no post-processing can fully substitute for getting it right on set.
| Point | Details |
|---|---|
| Lighting ratios control emotion | A 2:1–3:1 ratio reads as approachable; 5:1–8:1 projects authority; 10:1 and above creates drama. |
| Pattern choice drives perception | Paramount and Rembrandt patterns rate highest for trustworthiness; Split and under-lighting produce negative responses. |
| Color temperature consistency | Mixed warm and cool sources create unnatural skin tones that subconsciously reduce viewer trust. |
| Soft light corrects before post | Large, diffused sources minimize texture and reduce retouching needs across all skin tones. |
| Studio light beats natural for batches | Consistent studio lighting ensures visual uniformity across large corporate portrait sessions. |

