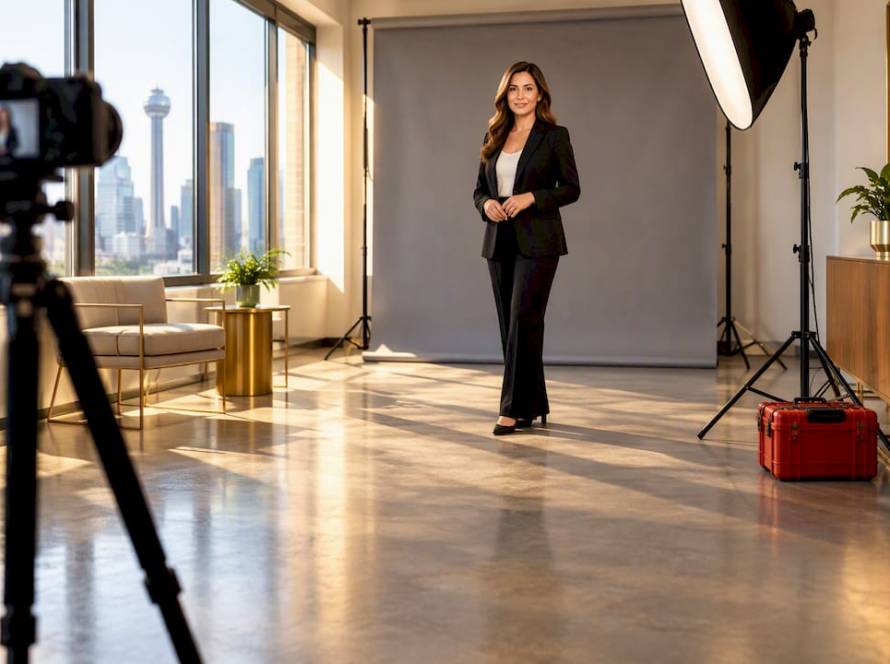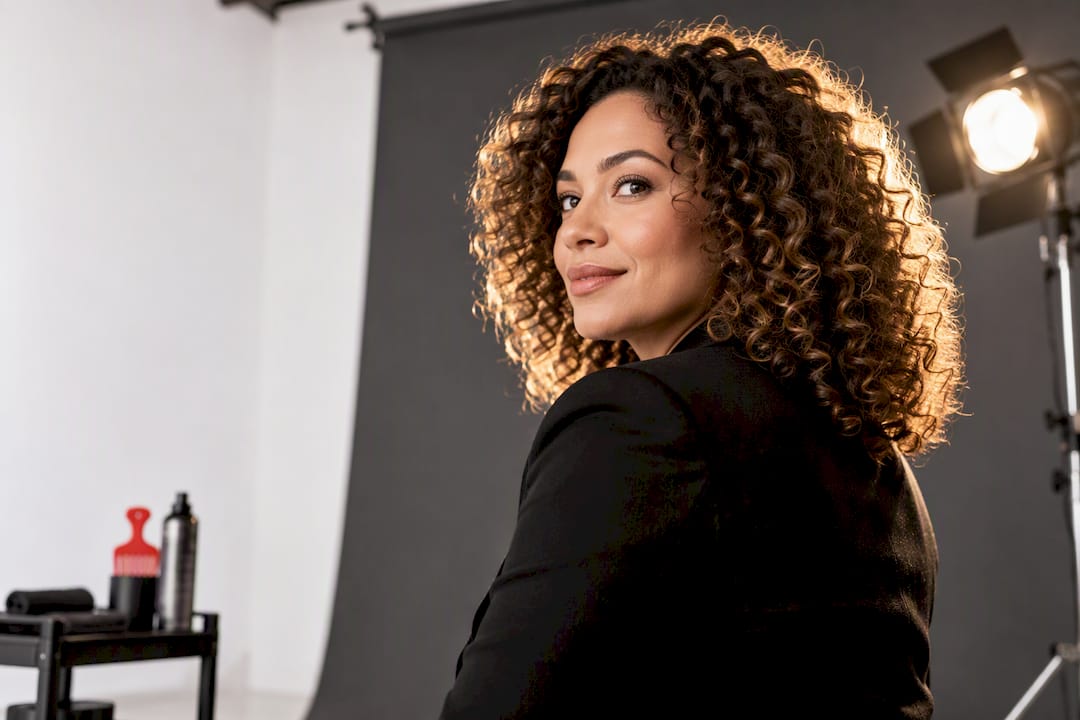
Embrace your curls, defined and frizz free, or choose a deliberately smoothed style. Either look reads as professional when you coordinate it with lighting and clear direction to your photographer. The two levers that actually control the outcome are frizz management and communication with whoever is behind the camera. Professional headshot photographers can work with clients across every curl type and can walk you through both approaches before your session.
TL;DR:
- Maintaining moisture is essential, with some curly hair textures requiring washing only every 2 to 3 weeks to prevent dryness and breakage.
- Using a diffuser on low heat and applying product to soaking wet curls helps preserve definition and reduce frizz during styling.
- Packing a small touch-up kit with a mini diffuser, anti-frizz spray, and wide-tooth comb ensures curls stay defined and frizz-free during the session.
- Opting for lighting that accentuates curl texture, such as backlighting or rim lighting, improves photo quality for defined natural curls.
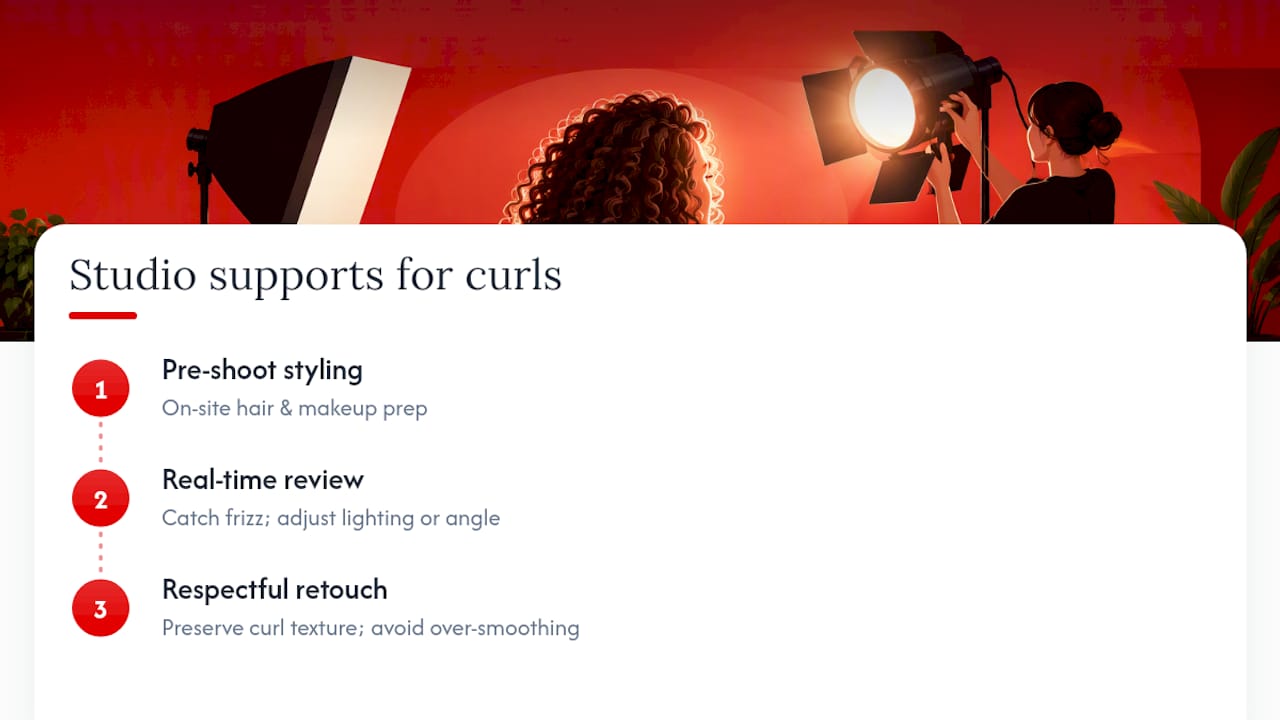
- Professional headshot studios offering on-site styling, real-time image review, and retouching that respects texture lead to more polished, curl-friendly portraits.
Table of Contents
- Two Curly Headshot Looks That Photograph Well
- How Should I Prepare My Curly Hair Before a Headshot Session?
- What Styling Techniques Make Curls Photograph Sharp?
- What Should I Pack in a Touch-Up Kit for the Shoot?
- What Should I Wear and How Should I Do My Makeup With Curly Hair?
- Which Angles and Poses Flatter Curly Hair Best?
- What Makes a Professional Session Better for Curly Hair?
- A Note on Authenticity From Traci Schowmeyer
- Ready to Book a Curly-Friendly Headshot Session?
- Sources
- FAQ
Two Curly Headshot Looks That Photograph Well
You have two solid directions, and both belong in a professional portfolio.
Defined natural curls show real texture and movement. This look works best when a photographer uses backlight or rim light behind you, which separates each curl from the background and keeps the shape from disappearing into a dark backdrop.
Polished or smoothed styles, like a sleek low bun or controlled waves, read as buttoned up and suit industries like law or finance where a tighter presentation is the norm.
- Defined curls: front-lit for even tone, backlit or rim-lit for texture and separation
- Smoothed styles: softer, more even lighting since there’s less texture to sculpt
- Either look pairs with natural business headshot styling if you want your portrait to feel authentic rather than airbrushed
How Should I Prepare My Curly Hair Before a Headshot Session?
Curl prep starts days before the shoot, not the morning of. Curly and coily hair is more prone to dryness and breakage than straight hair, so dermatologists recommend a moisture-first routine and washing less often than you might think, sometimes only every 2 to 3 weeks for very curly or thick textures. Wash too frequently and you strip the natural oils that keep curls defined instead of frizzy.
- Wash on a schedule that fits your texture, not a daily habit, and use a moisturizing, sulfate-free shampoo.
- Deep condition the night before or two nights before your session to add slip and hydration.
- Apply a leave-in conditioner on wash day to seal moisture before styling.
- Detangle while soaking wet using a wide-tooth comb or your fingers, never a brush on dry curls, which shreds the curl pattern and causes breakage.
- Pick products by curl density: lighter creams for fine curls, heavier oils or butters for coarse, dense curls.
Pro Tip: Sleep on your prep the night before with a loose pineapple bun or a satin pillowcase. That single step preserves curl shape and cuts down on the morning frizz you’d otherwise have to fight before the camera even comes out.
What Styling Techniques Make Curls Photograph Sharp?
The order you apply product matters as much as the product itself. Curl definition holds best when styling cream or mousse goes onto hair that is still dripping wet, not damp. Working product through soaking curls locks in shape before the hair starts to dry unevenly.
A diffuser attachment on low airflow and medium heat, with minimal hand movement, preserves curl definition and limits frizz far better than air-drying alone or blasting hair with a regular dryer nozzle.
- Diffuse on low air, medium heat, and resist the urge to keep touching curls while they dry
- Try the fishnet cap trick: stretch a fishnet cap over wet hair before diffusing to lift roots and set curls evenly without hours of manual scrunching, a technique popularized by stylist Jonathan Van Ness
- Match product weight to hair fineness: light mousse for fine curls, cream or oil for thicker strands
- Keep a few drops of olive oil on hand for the midlengths and ends only, since heavier oils can weigh down finer curl types if applied at the roots
Pro Tip: If your curls fall flat by midday, don’t add more product. A light finger scrunch with a spritz of water often revives shape faster than layering on more cream.
What Should I Pack in a Touch-Up Kit for the Shoot?
Frizz shows up fastest under hot studio lights, so plan for a five-minute reset between shots. A light water spritz followed by reshaping curls with your fingers, not a comb, restores definition without disturbing the set.
Build a small kit before you leave home:
- Mini diffuser or handheld fan for quick touch-ups between poses
- Small anti-frizz spray or serum, a stylist-favorite fix for flyaways
- A few bobby pins for stray pieces near the hairline
- A satin scarf to protect curls during hair and makeup prep
- Wide-tooth comb for gentle reshaping only, never on dry curls
- Oil sheets to blot shine without disturbing curl pattern
Skip extra water or product if your hair is already saturated. Adding more just creates buildup and weighs curls down. On humid days, favor anti-frizz spray over water spritzing, since humidity alone will loosen the set. If you wear glasses, ask your photographer to angle the lights slightly off-axis so lenses don’t catch a glare that pulls focus from your face.
What Should I Wear and How Should I Do My Makeup With Curly Hair?
Your outfit and makeup should support your curls, not compete with them. Voluminous hair needs room to breathe, so a V-neck or open collar works better than a busy, high collar that crowds the frame.
- Choose necklines that leave space around the shoulders: V-necks and open collars over turtlenecks or ruffled collars
- Pick colors that contrast gently with your hair and skin tone rather than blending into either
- Keep makeup finish matte to satin; heavy shine competes with studio lighting and curl texture
- Focus definition on eyes and brows since curls already add visual interest around the face
- Keep jewelry minimal, and if you use a scarf during prep, choose one you can remove without disturbing the set
For a deeper wardrobe breakdown that pairs well with any hair texture, the session prep and wardrobe guide covers colors and fit in more depth.
Which Angles and Poses Flatter Curly Hair Best?
A slight head tilt with shoulders angled away from the camera shows off both curl shape and jawline without flattening either. Straight-on poses tend to compress volume, so a gentle turn gives curls room to read as three-dimensional.
Backlight or rim light does double duty here: it separates curls from the background and reveals individual strands of texture that flat, front-only lighting tends to erase.
- Try a camera position slightly above eye level for looser, lower-density curls to open up the face
- Use a straight-on angle for tighter, denser curl patterns where volume already fills the frame
- A slight side angle of 10 to 15 degrees works well for asymmetric curl patterns or one-sided part styles
- Rest a hand near the collarbone or angle a shoulder forward to shape hair naturally, without looking posed
Curly-specific angle guidance goes further in the camera angle breakdown if you want to see how small position shifts change the result.
What Makes a Professional Session Better for Curly Hair?
A studio session solves problems a phone camera and bathroom mirror can’t. Professional lighting reveals curl texture instead of flattening it, and a photographer who checks images in real time can catch a flat spot or frizz halo before it shows up in your final files.
Certain professional headshot studios offer services built for this kind of prep, including on-site hair and makeup styling before the camera comes out, real-time image review during the session to catch curl issues and adjust lighting or angle immediately, and professional retouching that respects texture instead of smoothing curls into something they’re not.
Trial and error is normal with curl routines, since every curl pattern responds differently to products and techniques, which is exactly why a consultation before the shoot day matters.
A Note on Authenticity From Traci Schowmeyer
Curls are not a problem to solve before a headshot. They’re part of what makes your portrait look like you and not a stock photo. Treat the pre-shoot trial process as a chance to experiment, not a chore. Lighting and pose adjustments mid-session are normal, not a sign something went wrong. Ask questions, bring your kit, and work with your photographer to find the version of your curls that fits your brand.
— Traci Schowmeyer
Ready to Book a Curly-Friendly Headshot Session?
Some headshot photographers offer curly-haired clients services such as on-set hair and makeup, real-time review, and retouching that keeps texture intact instead of smoothing it away. That combination matters more for curls than for any other hair type, since small adjustments in lighting or diffusing mid-session are often what separates a flat result from one that looks defined and intentional.

Booking is straightforward. Choose an in-studio session starting at $300, or request an on-location shoot for your team. When you book, mention your curl pattern, any frizz concerns, and whether you’re going for a defined natural look or something smoother. That single note lets your photographer plan lighting before you even walk in. If you’re weighing your options first, browse real headshot examples to see how different curl types show up across finished portraits, then head to the packages page to pick a session and get on the calendar.
Sources
FAQ
Is Straight or Curly Hair Better for Headshots?
Neither is inherently better. Curly hair photographs just as professionally as straight hair when frizz is controlled and lighting is set up to show texture rather than flatten it.
What Should I Avoid Wearing in a Headshot?
Skip busy patterns, high or ruffled collars that crowd curly volume, and anything overly shiny that competes with studio lighting. Stick to solid or subtly textured tops with an open neckline like a V-neck.
How Do I Make Curly Hair Look Good in Photos?
Style on soaking wet hair, diffuse on low heat with minimal movement, and ask your photographer for backlight to bring out texture. A quick water spritz and finger reshaping mid-session handles most flatness or frizz.
What Face Shape Is Most Flattering With Curly Hair?
Curl volume works with most face shapes, but the key is proportion rather than shape alone. A slight head tilt and shoulder angle, paired with the right camera height, keeps curls from overwhelming the frame regardless of your face shape.
What Does a Curly-Friendly Headshot Session Cost?
An in-studio session at Metroplex Headshots starts at $300, with professional hair and makeup available separately for $95 to $160. On-location company headshot sessions start at $1250. Current pricing for other services is listed on the packages page.